How to Host a Budget-Friendly Halloween Party This Year

Host an affordable Halloween party with a clear spending cap, DIY decorations, simple food, free games, and practical safety tips.
Currently, to secure Word files, many people have set passwords for documents. However, if you are trying to secure any paragraph in a document, you can use the feature to hide and show the paragraph in Microsoft Word .
With this feature, anyone can open their files but can't see the important texts that we have hidden. If you do not know how to use this feature, you can follow the tutorial article to hide and show the text in Word .
Download Microsoft Office 2016 Download Microsoft Office 2019
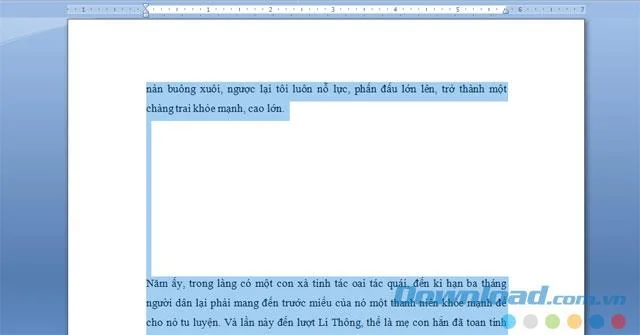
Step 1: Open up your text.
Step 2: Highlight the paragraph you want to hide.
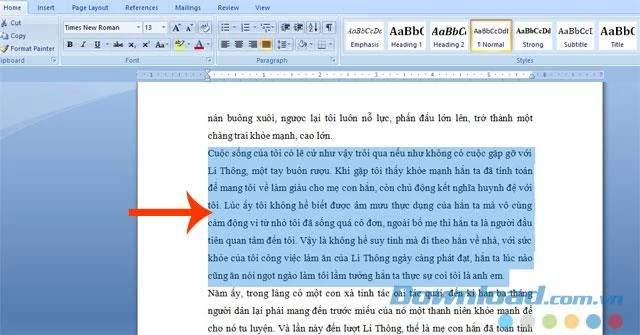
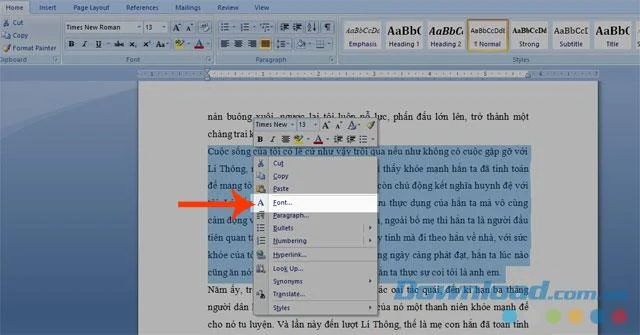
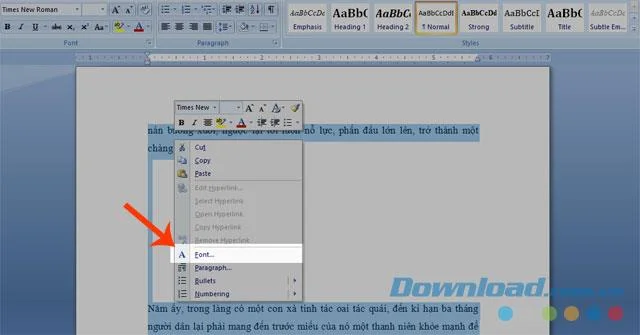
Step 3: Right-click, then select Font or press "Ctrl + D" .
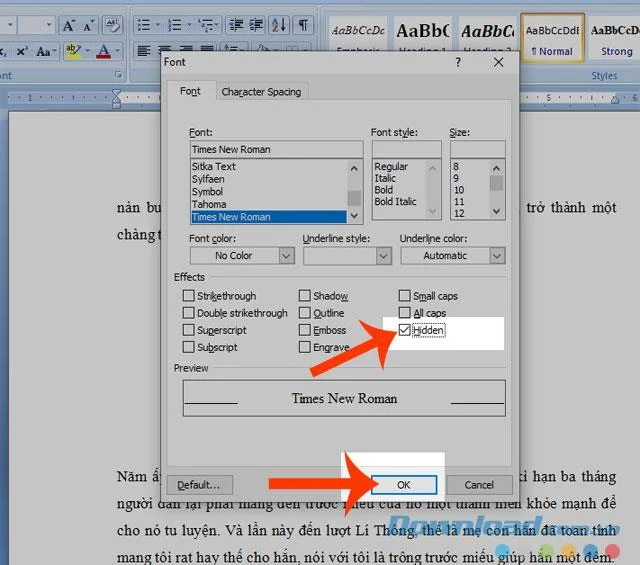
Step 4: At this time, the Font dialog box appears, in the Effects section tick the Hidden box .
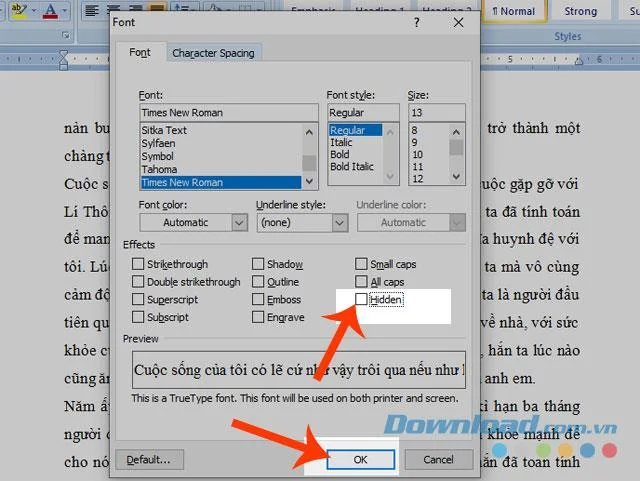
Step 5: Click the OK button . Below will be the result after hiding the paragraph you want.
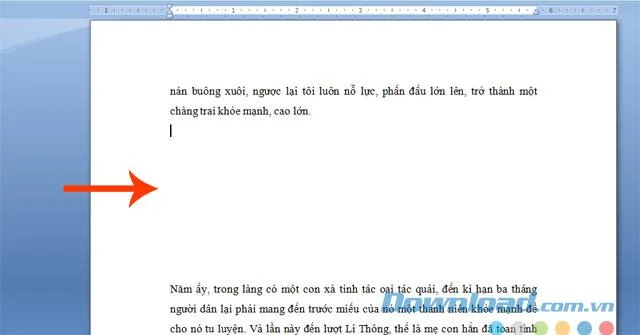
Step 1: Press Ctrl + A key combination to highlight the whole document.
Step 2: Right-click and select Font or you can press "Ctrl + D" .
Step 3: Font dialog box appears, remove the tick in the Hidden box in Effects .
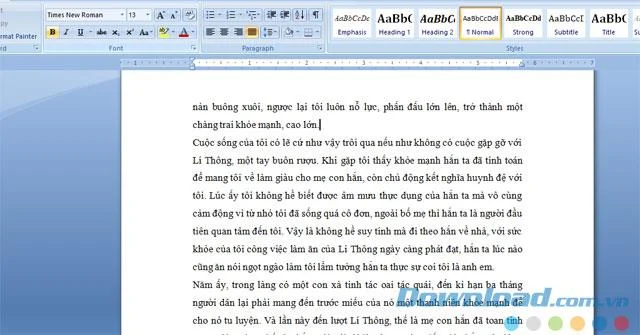
Step 4: Finally, press the OK key . At this point the text that I have hidden from before will appear.
Above is a guide to hide and show the text in Word, we hope that these will be part of the help you can quickly complete your work.
In addition, people can also refer to some other articles such as:
I wish you successful implementation!
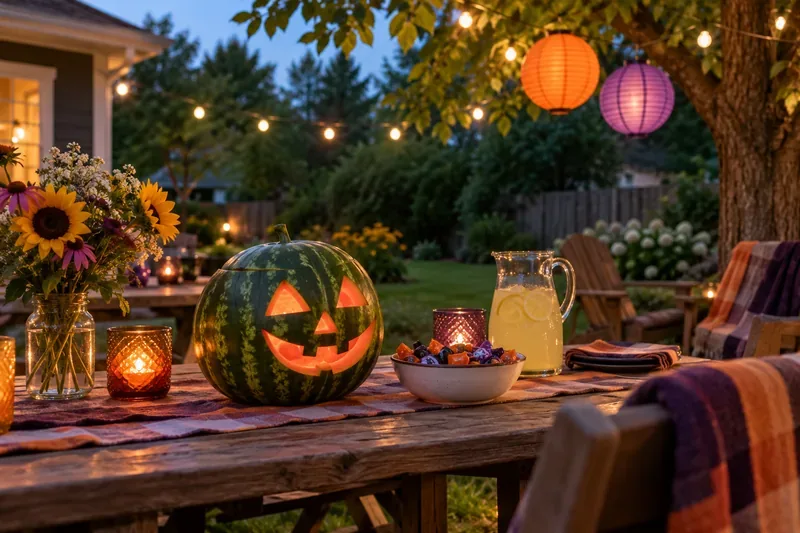
Host an affordable Halloween party with a clear spending cap, DIY decorations, simple food, free games, and practical safety tips.
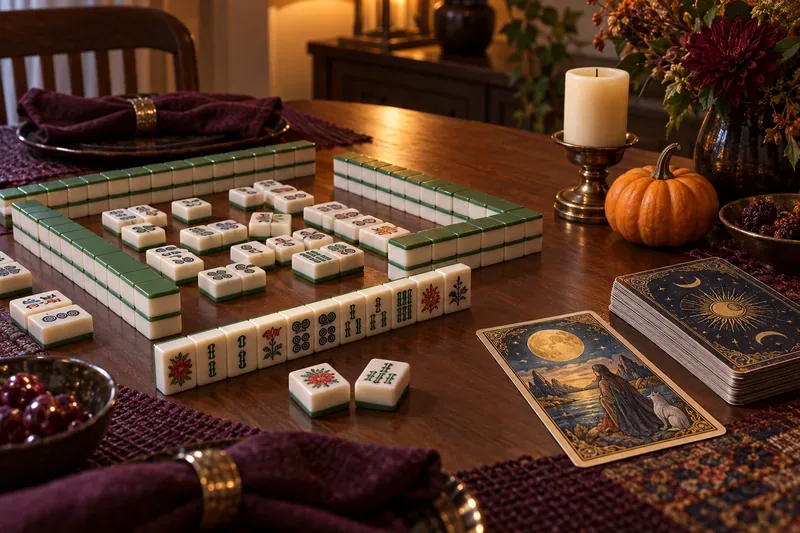
Choose Halloween party games by group size, experience, and mood, with simple ways to make tarot and mahjong welcoming for every guest.
Compare 2026 dog Halloween costume trends by search interest, fit, comfort, and mobility—from hot dog and shark looks to simple bandanas.
Learn how the Gravity Falls-inspired summer Halloween works, choose a date and celebration style, and plan a low-stress Summerween party.
Plan an inclusive virtual Halloween party for remote teams with time-zone-friendly scheduling, simple games, accessible options, and a practical hosting checklist.
Explore seven Halloween team building games for the workplace, with quick rules, hybrid-friendly options, accessibility tips, and practical safety guidance.
Mix a glossy prop-only fake blood batch, choose safer products for skin and costumes, and test cleanup before Halloween night.
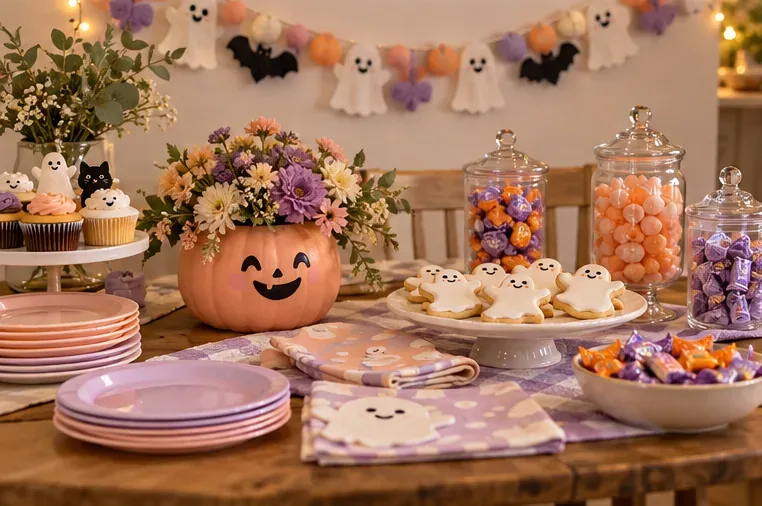
Create a gentle Halloween look with pastel colors, friendly ghosts, easy no-carve accents, and practical safety tips for your home.
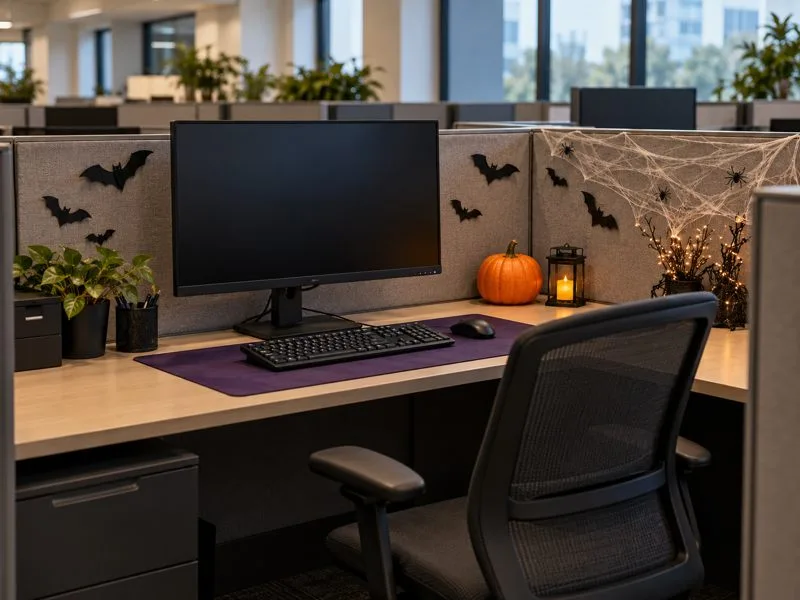
Create a spooky office cubicle with Halloween desk decor ideas that keep your workspace usable, tidy, and mindful of workplace safety.
Plan a recognizable Halloween 2026 look with pop culture costumes inspired by Spider-Man, Supergirl, Toy Story 5, Moana, Mario, and Wednesday.