Home
» Wiki
»
How to Create a Monochrome Color Effect in Photoshop
How to Create a Monochrome Color Effect in Photoshop
This tutorial will show you a quick and easy way to add a monochrome color effect to your images using Adobe Photoshop . The term monochrome means that the colors in an image are limited to different shades of the same tone or the same primary color. And it is a great way to simplify an image or convey a certain mood or emotion. Black and white photography is monochrome because it only uses shades of gray, but any color can be used.
How to convert color photo to monochrome
Here's how to create a basic monochrome effect. Once you've got the hang of it, we'll show you how to combine a few steps to speed things up.
Step 1: Add a Solid Color fill layer above the image
The easiest way to convert a color photo to monochrome is to use a Solid Color fill layer.
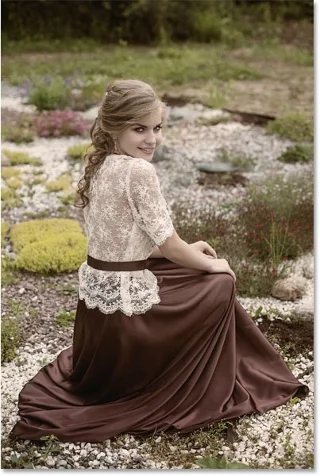
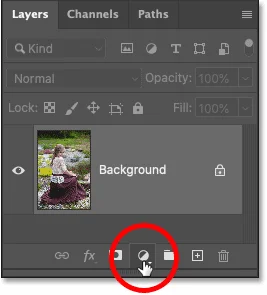
In the Layers panel, the original image will appear on the Background layer. Add a Solid Color fill layer above the image by clicking the New Fill or Adjustment Layer icon :
Click the New Fill or Adjustment Layer icon in Photoshop's Layers panel.
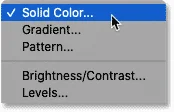
And select Solid Color from the list:
Add a Solid Color fill layer.
Step 2: Select the main color from the Color Picker
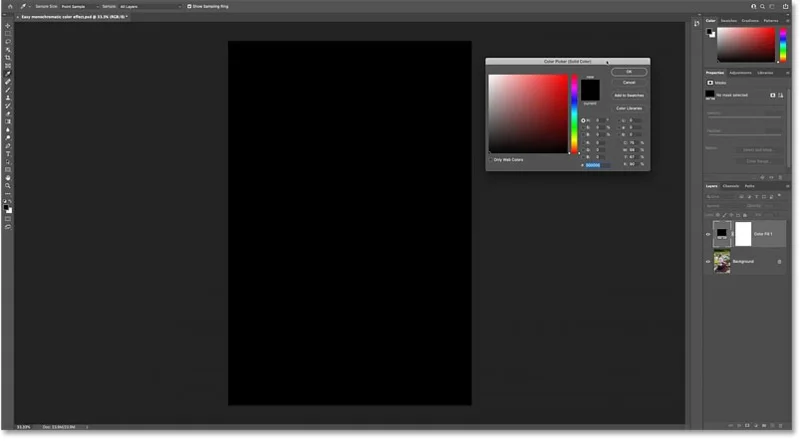
The Color Picker opens and the image will be temporarily blocked by whatever color is currently selected.
By default it is black:
The color selected in the Color Picker blocks the image from view.
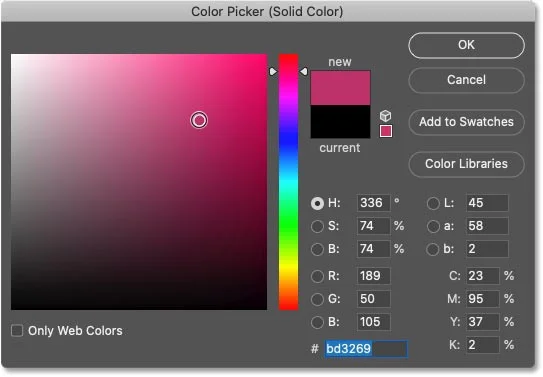
In the Color Picker, select the color you want to use. For now, we just want the hue (primary color). We'll come back and adjust the saturation and brightness in a moment.
For example, choose pink red:
Choose a color for the monochrome effect from Photoshop's Color Picker.
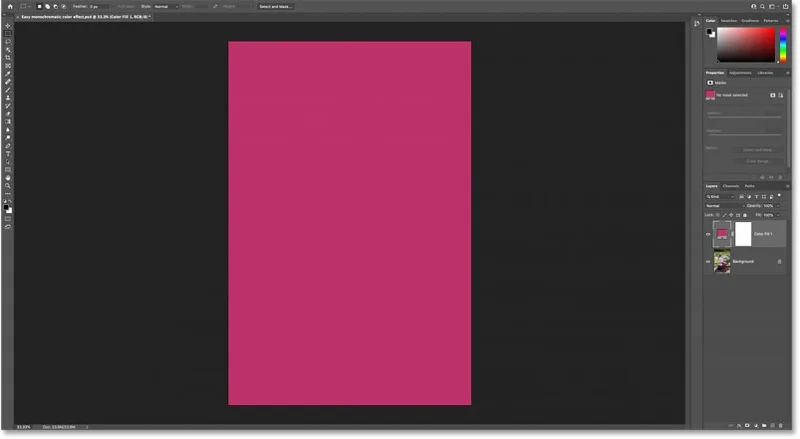
Click OK to close the Color Picker and now the new color blocks the image:
The color is selected, but the image is still blocked.
Step 3: Change the blend mode of the fill layer to Color
Back in the Layers panel, fill the Solid Color layer above the Background layer.
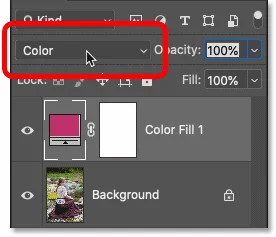
To blend the color from the fill layer with the image below, change the blend mode of the fill layer from Normal to Color :
Change the blend mode of the Solid Color fill layer to Color in Photoshop's Layers panel.
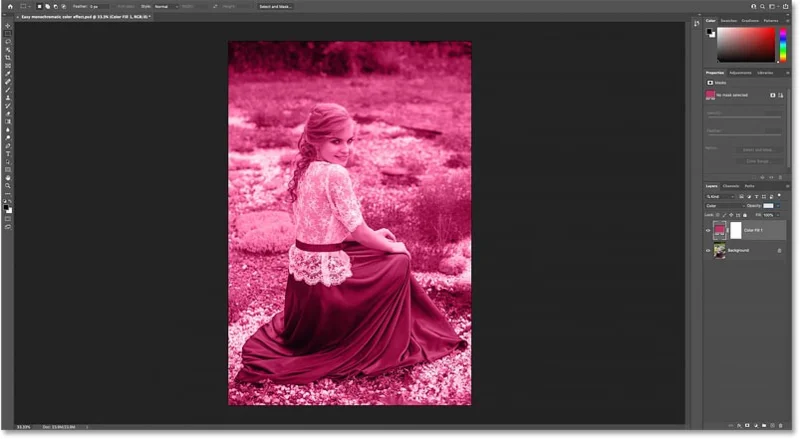
Blend mode Color keeps the tonal (brightness) values of the underlying image but replaces the original colors with colors from the fill layer, creating the original effect:
The result after changing the blend mode of the fill layer to Color.
Step 4: Reopen Color Picker
The only problem, at least in the example case, is that the color saturation is too strong and also too bright.
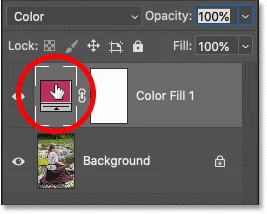
To fix that, reopen the Color Picker by double-clicking on the fill layer's color swatch in the Layers panel:
Double-click the fill layer's color swatch in Photoshop's Layers panel.
Step 5: Adjust the color saturation and brightness
Then adjust the saturation and brightness as needed.
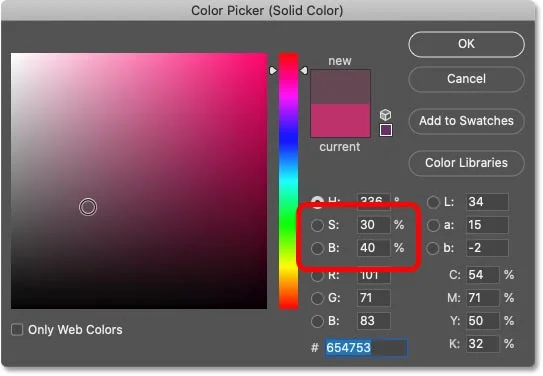
Reduce the Saturation (S value) to 30% and the Brightness (B value) to 40%. Click OK when you're done:
Reduce the saturation and brightness of the color in Photoshop's Color Picker.
And when the saturation and brightness are reduced, the effect is much more subtle:
Monochrome color effect added to image in Photoshop.
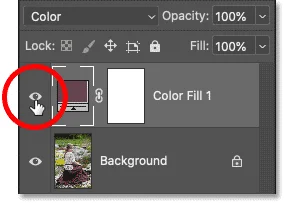
In the Layers panel, you can turn the effect on and off to compare it to the original image by clicking on the fill layer's visibility icon:
Click the fill layer visibility icon to toggle the solid color effect on and off.
And that's the basics of how to convert a color image to monochrome using the Solid Color fill layer in Photoshop!