The best Android emulators for gaming
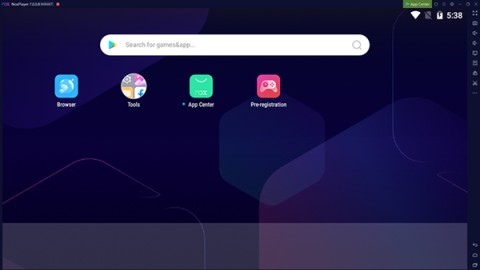
In this article, Quantrimang only gives a list of the best Android emulators for playing games.
If you want to put data from your computer into the BlueStacks simulator but do not know how, you can refer to the following tutorial of Download.com.vn .
BlueStacks is rated as one of the best Android emulators today. Although quite heavy, but the convenience that this software brings to users is indisputable. Apart from familiar names like NoxPlayer , LDPlayer or Genymotion ... if you are installing and using BlueStacks, you will surely wonder how to exchange data between computers and BlueStacks?
Previously, Download.com.vn had instructions on how to take photos and data from BlueStacks to your computer , if necessary, you can review it to know how to do it. As for copying data from a computer, copying photos to BlueStacks, we will follow in the article below.
ATTENTION:
Currently this Android emulator has version 4, but if you are using the older version, the implementation will not be the same. So the article will guide you how to retrieve data from a computer to simulate in both cases.
Step 1: You start up the BlueStacks emulator, from the main screen, we click on the More app icon below and select Media Manage (yellow folder icon).

Step 2: In the new interface, left-click Import From Windows to get data from the computer to.

Step 3: A Windows window appears, find the location of the data you are moving to the emulator, left click to select them, then Open to perform.

Step 4: Depending on the type of data, their size, the time to copy to the emulator will vary. But you can see, when the migration is complete, they retain the same format, file name and quality as when we saved it on the computer.

In addition to photos, BlueStacks can also accept other types of media data such as video, audio or text files with different extensions.

Step 1: After finding the BlueStacks installation drive, go to BlueStacks / UserData / SharedFolder.

Step 2: If you want to share information on your computer with BlueStacks, put that data into this folder.
ATTENTION:

Step 3: Open up the BlueStacks emulator, then click the white circle icon in the middle of the screen.

Continue to find and select the ES File Explorer application.

Step 4: New interface appears, left click and hold, drag scroll up or down in the white bar on the left. Find and click sdcard, then select the Windows folder on the right.

Step 5: In the Windows folder, click on BstSharedFolder.

Here, you will see all the photos and data that we copied into from the SharedFolder folder outside of Windows. To use any photo, just left click on it, select View picture in the new interface.

Step 6: While the image is displayed large, you can check to see if this is the right image, and click the three dots at the bottom , when the options bar appears, click select. Set as and choose this photo as background image, or for contact avatar.

Step 7: In addition to clicking each image to display, if you are sure, you can apply the following method to open up more options. That is left-click on any image you want to use, wait about 2-3 seconds for the interface to change. Now, below the photos is a small blue square, tick this box in different photos to select multiple photos at once.
Also, you can see after the interface changes, at the foot of the interface and an extra bar as the other option: Copy, cut, delete .. . Click the More icon (three dots) to open up the options panel. Please select the corresponding item that you are looking for, for example, here, Download.com.vn will choose the sharing feature - Share photos.
After selecting the Share icon, a small window appears, allowing you to choose where you want to share this photo, such as Facebook , Picasa , or the application Viber , Zalo ... To save the image, click ES Save to ...

Step 8: A list of folders appears for you to choose, you can choose any suitable file to save . Here, we will perform an example on the DCIM file, Camera section. This way will help you filter different photos into separate folders, convenient for later use.

Once saved, left click to open the image you want to view. If you want to perform any action, just click the three-dot icon (upper right corner of the interface) to display details.

Click Set background to select an open image as the background image for BlueStacks
Click and hold the left mouse button to move, resize the image, get the ratio of the image in accordance with the requirements. Click Save to finish.

And this is our achievement.

In addition to clicking on More, users can also identify photos to take by clicking and holding the mouse, tick the boxes to check, then select the cut or copy below to perform the operation.
ATTENTION:
In this article, Quantrimang only gives a list of the best Android emulators for playing games.
These are the best Android emulators to play PUBG Mobile
Learn how to efficiently transfer photos and data from your computer to the BlueStacks emulator in the 2024 and 2025 versions.
Learn how to disable the background mode of BlueStacks to enhance your computer’s performance while saving resources.
With just a few clicks, users can easily backup and restore BlueStacks data to protect important information on this Android emulator.
Instructions for locking the mouse cursor when playing games on BlueStacks, Instructions for turning on/off the mouse cursor lock feature when playing games in the BlueStacks App Player emulator.
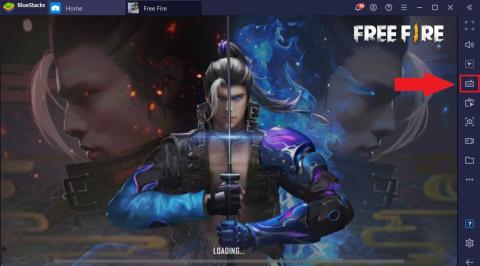
Improved mouse sensitivity for Free Fire on BlueStacks, BlueStacks has made important improvements for Free Fire gamers. Please upgrade BlueStacks 4.230.10
BlueStacks supports many languages in the World, including Vietnam. And if you want, you can also set up Vietnamese for BlueStacks easily.
Mobile game development has evolved to the point that your smartphones can handle gameplay with high graphics. One example is the Player’s Unknown Battleground or most commonly called PUBG. This is an online multiplayer battle royale game which main purpose is to survive in the ground and be the number 1 among the 100 players. Since your goal is to be on top, you have to watch out for your enemies. Thus, playing it on a small device can be a hassle as you might miss your chance. So, here are the ways to play PUBG mobile on PC.
The virtual keyboard for chatting on BlueStacks is different from the gaming virtual keyboard that WebTech360 has previously instructed you.
For those looking for an app that can help you run the android system on your PC, then try using Bluestacks. This is an app that allows people to run any kinds of android apps such as games, texting on their computers. Many of you must be asking how the system works and is Bluestacks safe to use. Well, just like other emulators, Bluestacks is safe to use if you download the app from the official website. As for how it works, all you need to do is download the app on your computer. Bluestacks have been developing its features and their newest future is Bluestacks multiple accounts.
BlueStacks is a popular cloud-based Android emulator for PC, where users can enjoy thousands of apps on their computers. If BlueStacks Engine wont start on your system, then try running it in compatibility mode, close background applications and pause your antivirus software. BlueStacks should be running fine on your system if you followed this guide, but if it ever crashes or stops working, check out our collection of BlueStacks Guides articles. Whenever you encounter glitches with your system, be it hardware or software related, the Troubleshooting Page should be your first stop.
There are many Android emulators available on the market, if choosing the best emulator is really not easy. The following article will do a small test with the two most commonly used emulators, BlueStacks and Droid4X.
If you are already using BlueStacks on your computer, turning off BlueStacks autorun is the first thing you need to know to prevent this emulator from affecting the use of your computer.
Unfortunately, Google Play services has stopped on BlueStacks, an error that prevents users from accessing Google Play and is forced to log out.
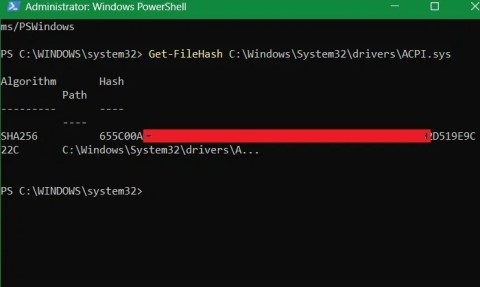
Error code 0xc0000098 in Windows causes a blue screen error on startup. The ACPI.sys driver is often to blame, especially on unsupported versions of Windows 11 like 23H2 or 22H2 or Windows 10.
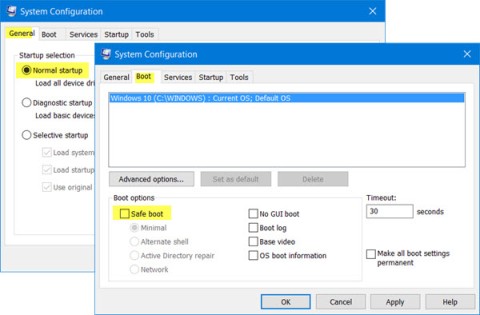
In some cases, sometimes you start your computer in Safe Mode and the computer freezes. So how to fix the error in this case, please refer to the article below of WebTech360.
Snipping Tool is a powerful photo and video capture tool on Windows. However, this tool sometimes has some errors, such as constantly displaying on the screen.
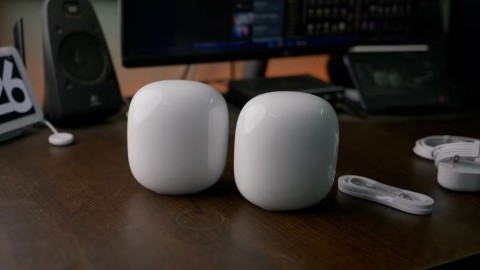
Every network has a router to access the Internet, but not everyone knows how to make the router work better. In this article, we will introduce some router tips to help speed up the wireless connection in the network.
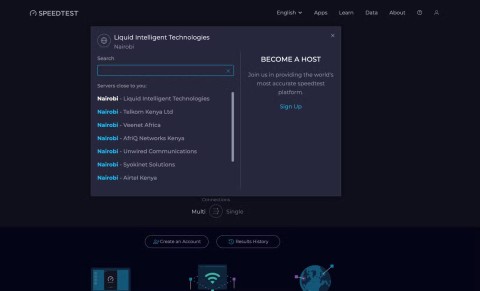
If the results seem slower than expected, don't be too quick to blame your ISP - mistakes when performing the test can skew your numbers.
In the article below, we will introduce and guide you to learn about the concept of QoS - Quality of Service on router devices.
Windows has a built-in Credential Manager, but it's not what you think it is—and certainly not a replacement for a password manager.
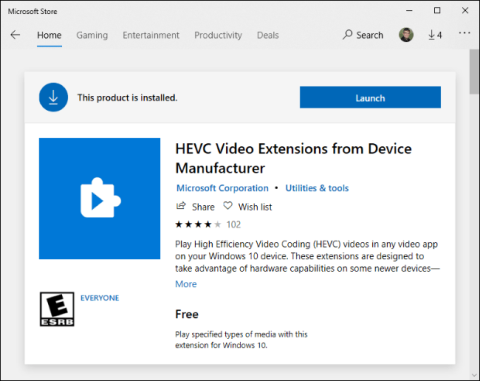
Microsoft charges for its official codecs and doesn't include them in Windows 10. However, you can get them for free without pulling out your credit card and spending $0.99.
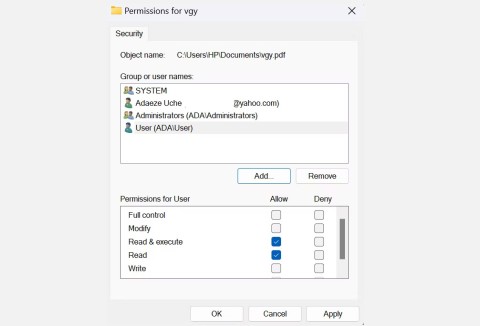
While having trouble accessing files and folders can be frustrating, don't panic—with a few simple tweaks, you can regain access to your system.
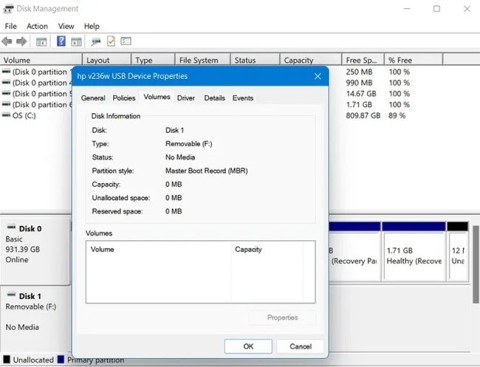
After creating a USB boot to install Windows, users should check the USB boot's performance to see if it was created successfully or not.
Although Windows Storage Sense efficiently deletes temporary files, some types of data are permanent and continue to accumulate.
You can turn off Windows 11 background apps to optimize performance, save battery and reduce RAM consumption.
When a computer, mobile device, or printer tries to connect to a Microsoft Windows computer over a network, for example, the error message network path was not found — Error 0x80070035 may appear.
We can block Internet access for any application or software on the computer, while other programs can still access the network. The following article will guide readers on how to disable Internet access for software and applications on Windows.
Instead of paying $30 for a year of security updates, keep Windows 10 safe until 2030 with this simple solution.
