Set Default Storage Quotas by User Role in ownCloud oCIS
Assign byte-based storage limits to new ownCloud Infinite Scale users by role, with a proxy.yaml example and a safe verification checklist.
Google Chrome browser is a lot of people choose by fast browsing speed, safe and easier to use than ever. However, after a period of use, you feel your browser is much slower and more sluggish, despite having cleaned up the browser.
So how to overcome this situation here? Like Internet Explorer or Mozilla Firefox , Google Chrome also has a feature to restore the default settings. So please refer to how to restore the default settings for Chrome browser to improve browsing speed as well as fix problems arising during use:
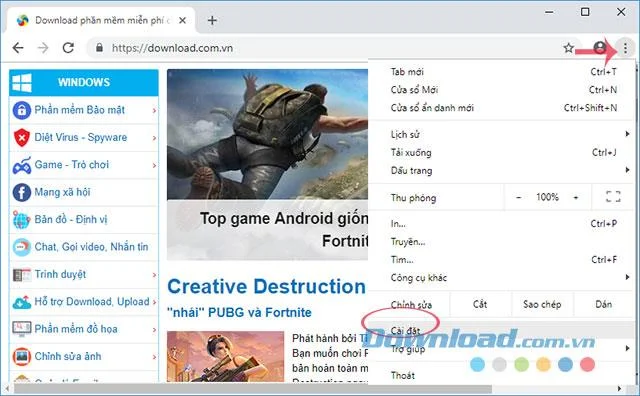
Step 1: Open up Google Chrome browser , then click the 3 vertical dots icon in the top right corner of the screen, select Settings.
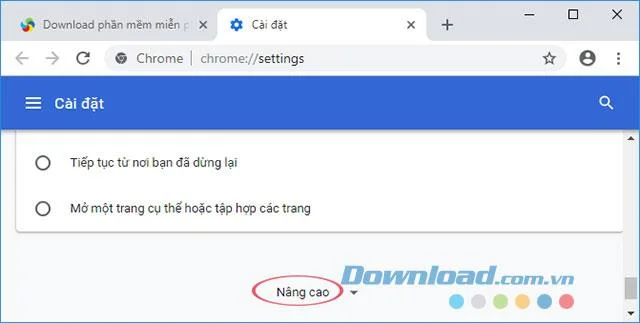
Step 2: The Settings window appears, scroll down to the bottom and select Advanced to display the advanced settings section of the Chrome browser.
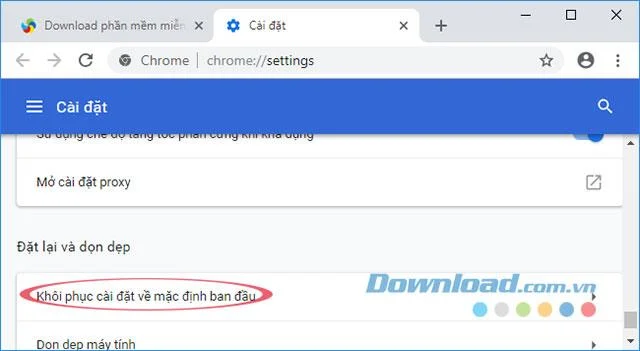
Step 3: Scroll down, then search for Reset and clean, click Restore settings to factory defaults.
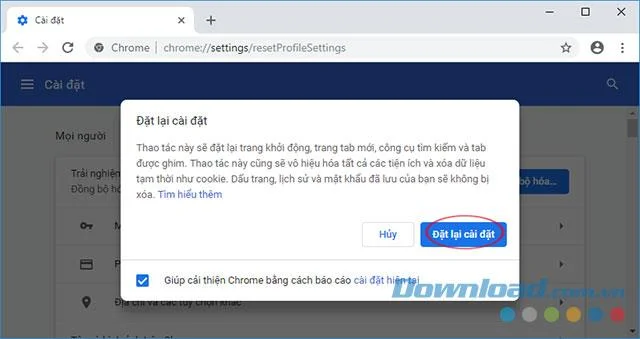
Step 4: Immediately after appearing the Reset settings message box , click Reset settings to restore to the original settings. This will reset the startup page, new tab page, search engine, and pinned tabs.

Alternatively, you can access the path: Chrome: // settings / resetProfileSettings and click the Reset settings button to restore Chrome browser.
So your Google Chrome browser has been restored to the state it was in when it was installed. Now, your browsing speed has improved a lot compared to before not reset a lot already.
I wish you successful implementation!
Assign byte-based storage limits to new ownCloud Infinite Scale users by role, with a proxy.yaml example and a safe verification checklist.
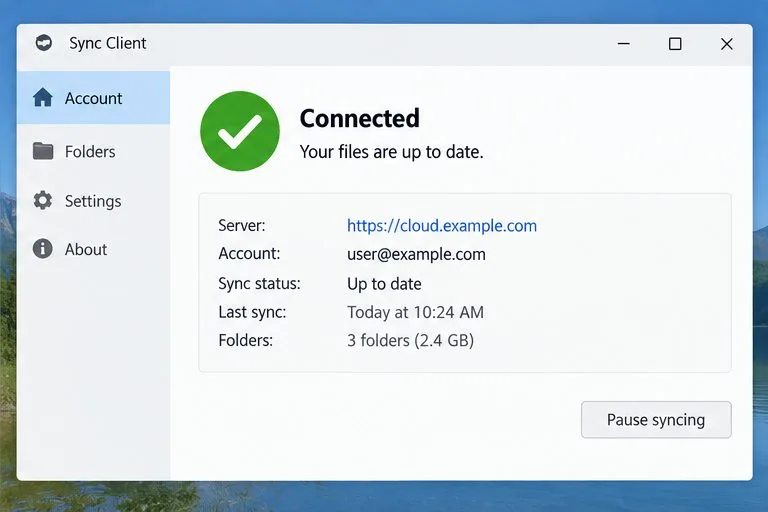
Restore ownCloud desktop syncing by checking the server hostname, certificate chain, private CA trust, and captive portal issues without disabling TLS verification.
Use the invalid-file report to identify mismatched core files or app signatures, restore the correct release files, and verify the integrity check safely.
Deploy ownCloud Infinite Scale from its official Compose example, configure domains and persistent storage, then verify TLS, containers, and first login.
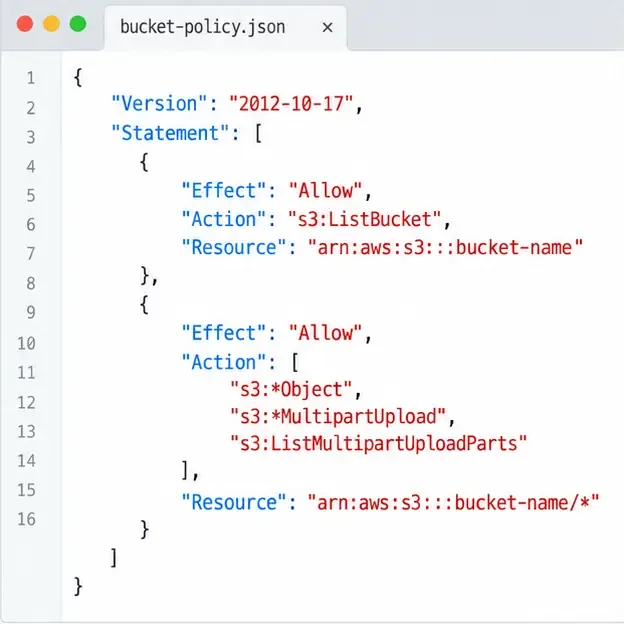
Set up the S3NG driver, bucket permissions, persistent metadata storage, and upload sizing so ownCloud Infinite Scale can store file contents reliably.
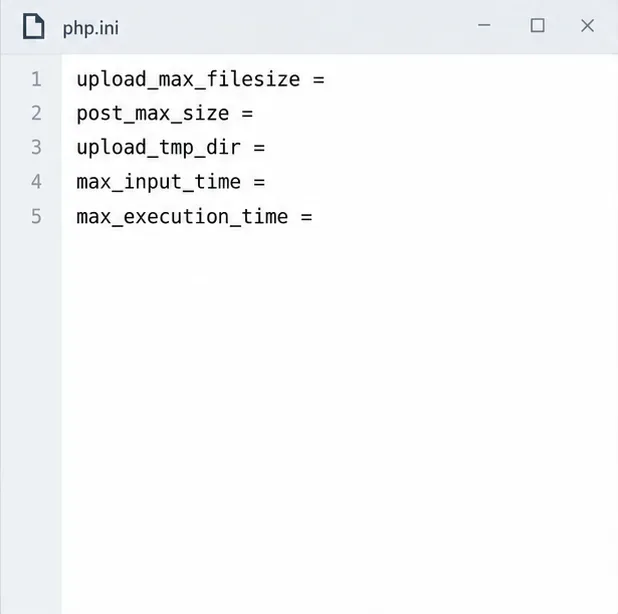
Find why an ownCloud Server upload stops near completion by checking file status, quota, temporary disk space, PHP limits, and proxy timeouts.
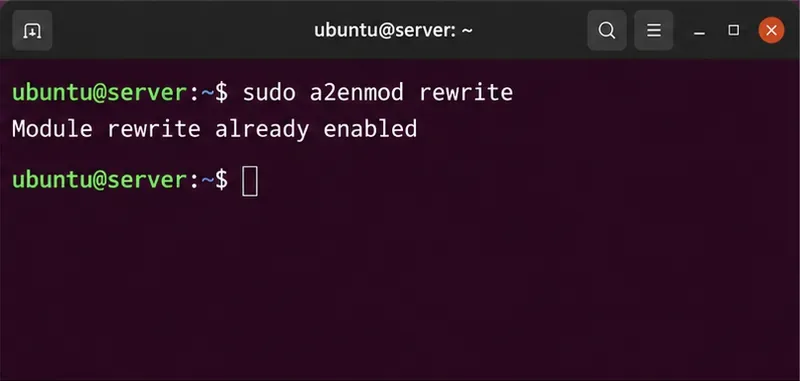
Set AllowOverride All only for ownCloud’s web root, validate the active Apache vhost, and reload safely to restore .htaccess rules.
Enable ownCloud’s Enterprise Auditing app, route admin_audit events to a protected log file, and confirm that real user actions are being recorded.
Align Keycloak’s realm issuer, web client, and user claims to let ownCloud Infinite Scale sign users in reliably across the web and mobile clients.
Transfer owned files and outgoing shares with ownCloud’s occ command, understand what stays behind, and verify access before deleting the old account.