What is the best AI photo background remover?

People spend too much time manually removing backgrounds, and AI isn't always the magic it claims to be.
It’s fun to imagine what else you could do with your old digital photos. Creating a 3D pop-out effect in Adobe Photoshop is a great way to get people to notice your efforts on social media posts or as a creative photography project.
Minimum requirements
The pop-out effect is a creative technique in which parts of an image appear to jump out of their boundaries, creating a dynamic 3D effect.
You will need the following resources to complete this tutorial:
Here's what the finished project will look like:
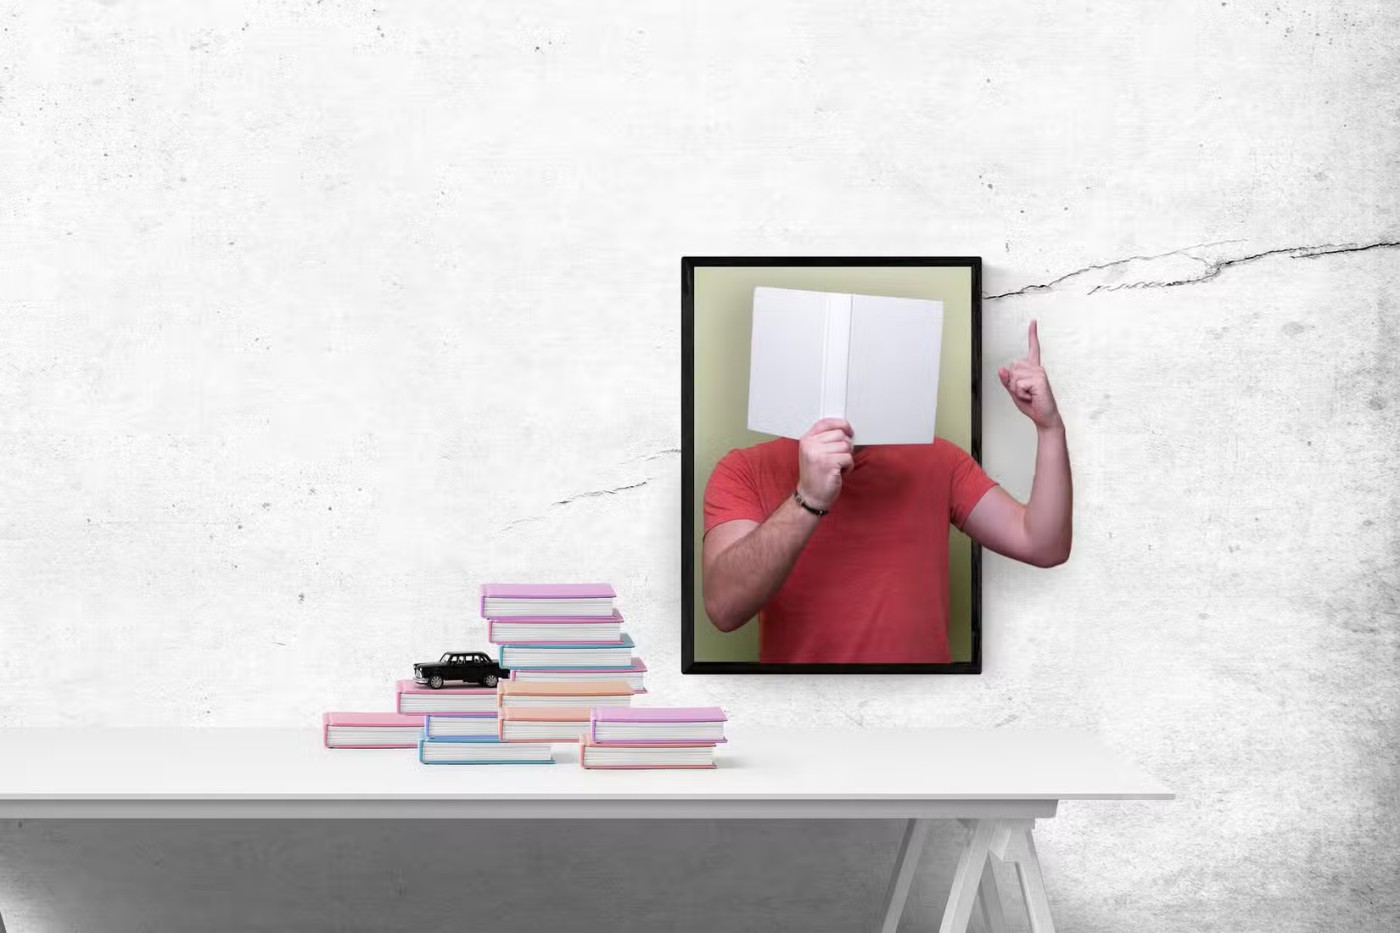
Note : This article uses the latest version of Adobe Photoshop, but you can try this on older versions as well. The basic principles of selecting a subject in an image remain the same; only the selection options have expanded in scope. Finally, as with all image editing in Photoshop, there are multiple ways to create this effect.
Step 1: Set up your project
Finding the right images is half the battle. Here are some tips for choosing the perfect images for your project.
Tip : Browse simple photos when you start your first project. Search many stock photo sites for photos with simple backgrounds to find copyright-free images.
Step 2: Prepare the background image
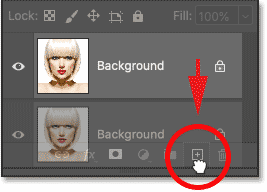
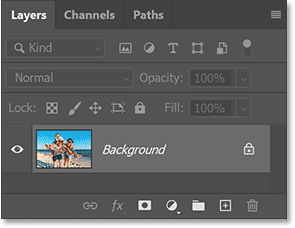
The background image or part of the background image is the frame for the highlight image. Working on a duplicate layer of the background will preserve the original image for non-destructive editing. In the following steps, creating a new layer by duplicating the original layer will isolate the pixels and set the scene for the pop-out effect.
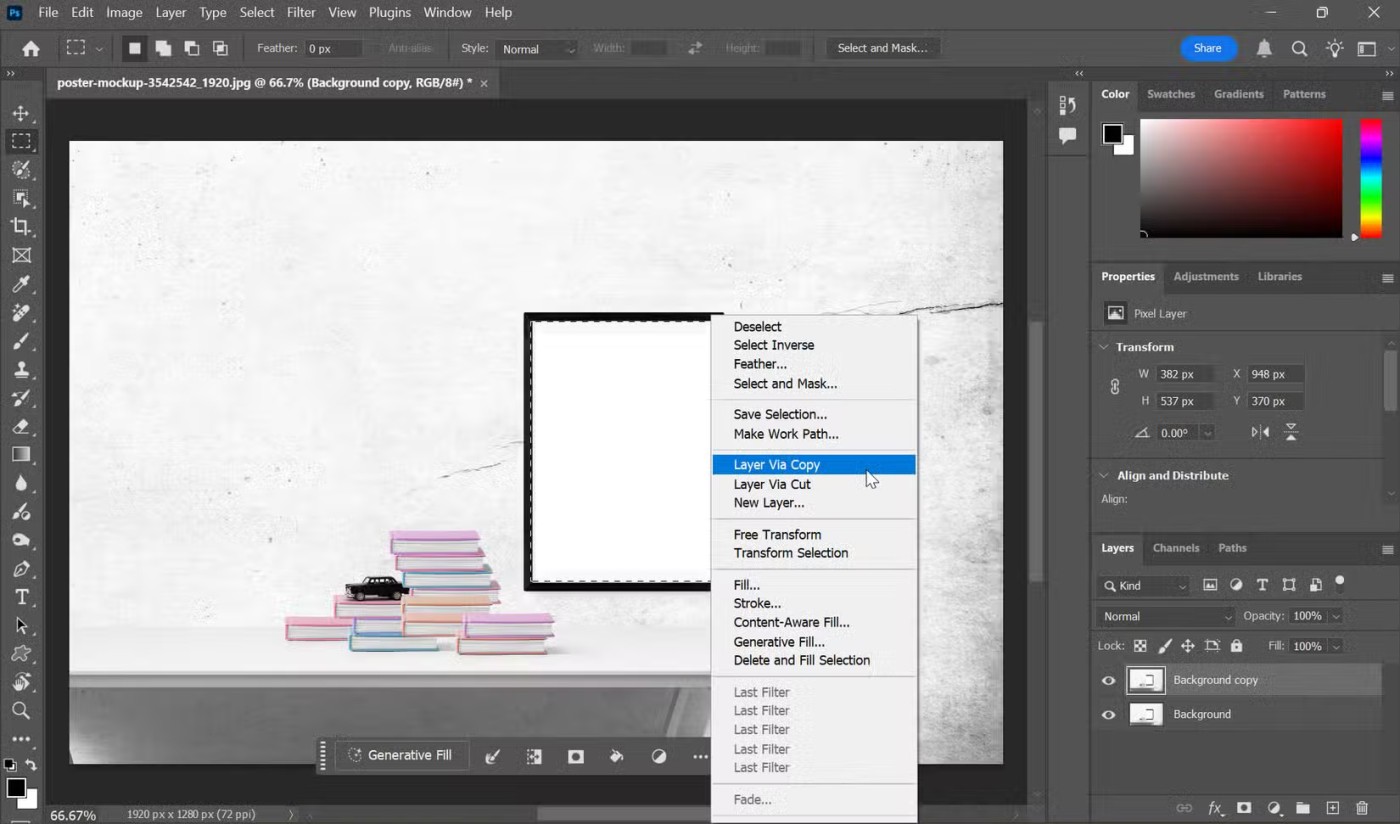
Tip : Photoshop provides several methods for making selections. In the screenshot above, I used the Rectangular Marquee to select a blank white area in the image frame.
You can create a solid color adjustment layer instead of a new layer via duplicate. The pop-out effect can be more prominent on a consistent color background. Also, if you need to change the background color later, you can do so without affecting the rest of the composition.
Step 3: Arrange photos to create pop-out effect
The pop-out effect works best when part of the object is inside the frame and part is outside.
Proper scaling and positioning is important to create a realistic pop-out effect. Again, over-scaling the top image can throw off the balance between the frame and the pop-out portion of the image.
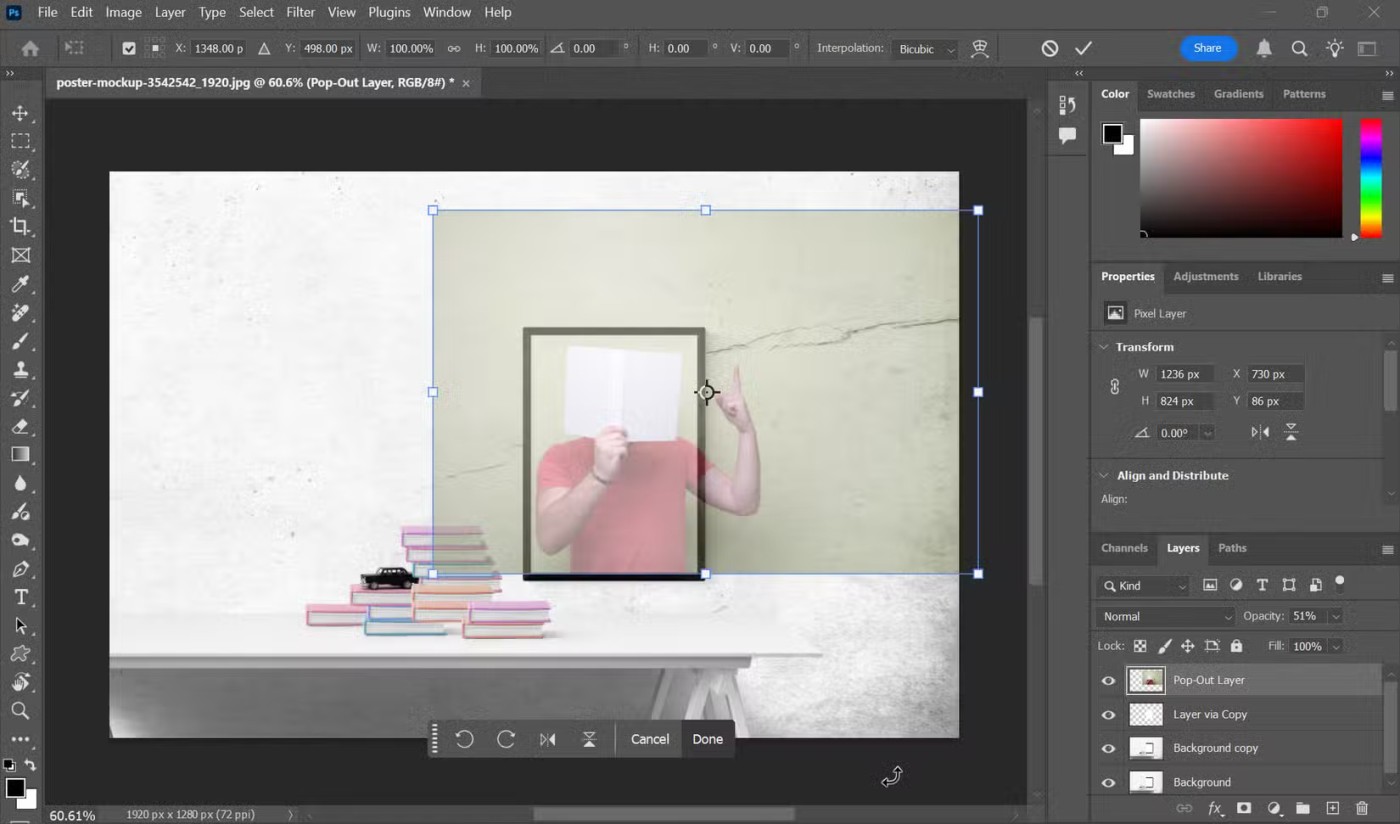
Note : In the latest versions of Photoshop, the Transform tool scales layers proportionally by default. In previous versions, you had to hold down the Shift key to maintain the aspect ratio when using the Transform tool.
Step 4: Create Clipping Mask
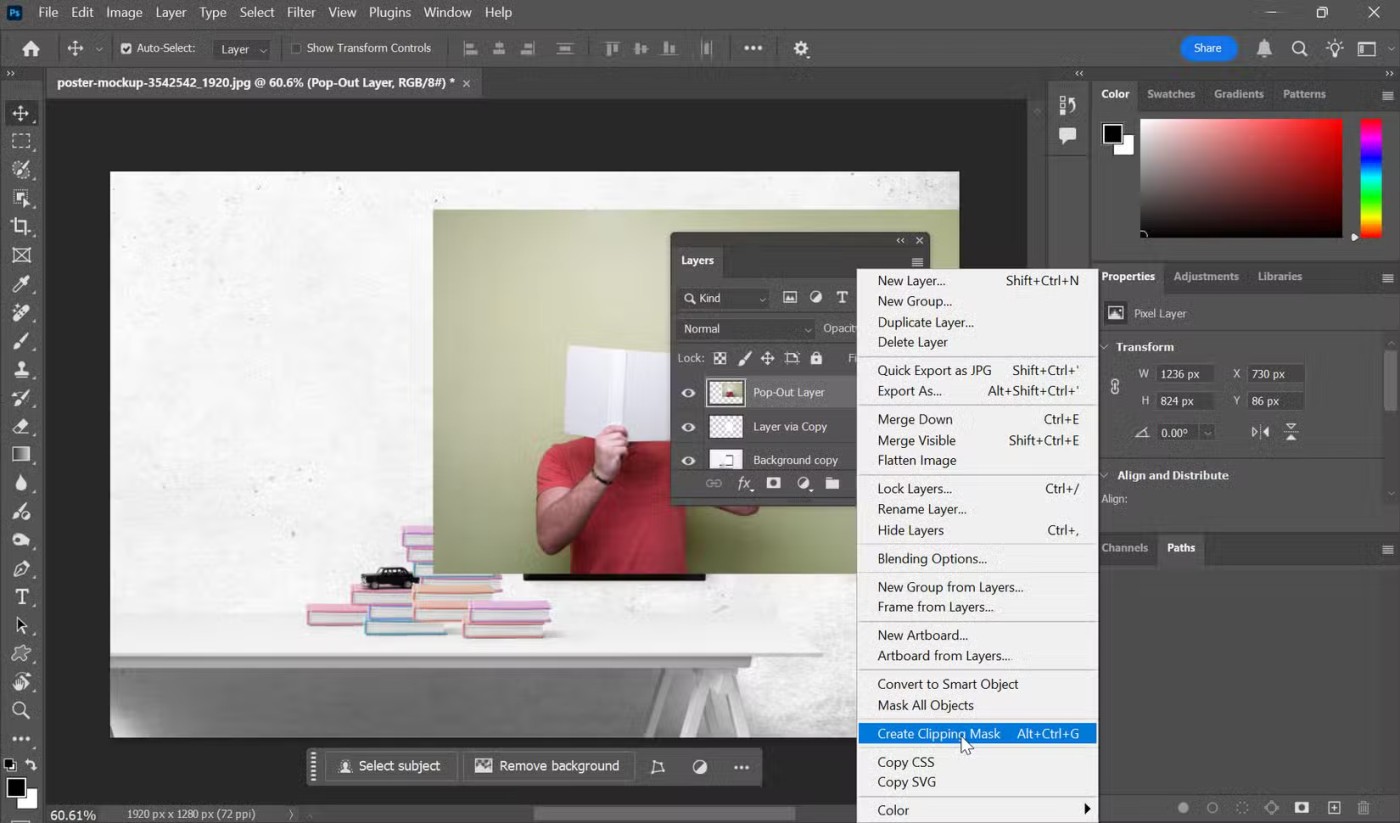
You want to blend your pop-out image seamlessly instead of just stacking layers on top of the frame. A Clipping Mask confines your subject to the shape of the layer below (in this case, the “frame” we created from Layer via Copy). This step is important because it creates a perfect edge for the pop-out effect without affecting the background.
To do this, right-click on the photo and select Create Clipping Mask .
Step 5: Select the object to apply the pop-out effect to
To enhance the 3D illusion effect, you need to isolate the part of the image where the pop-out effect will be applied.
This step creates a separate layer for the part of the image that will "pop", allowing you to manipulate it independently.
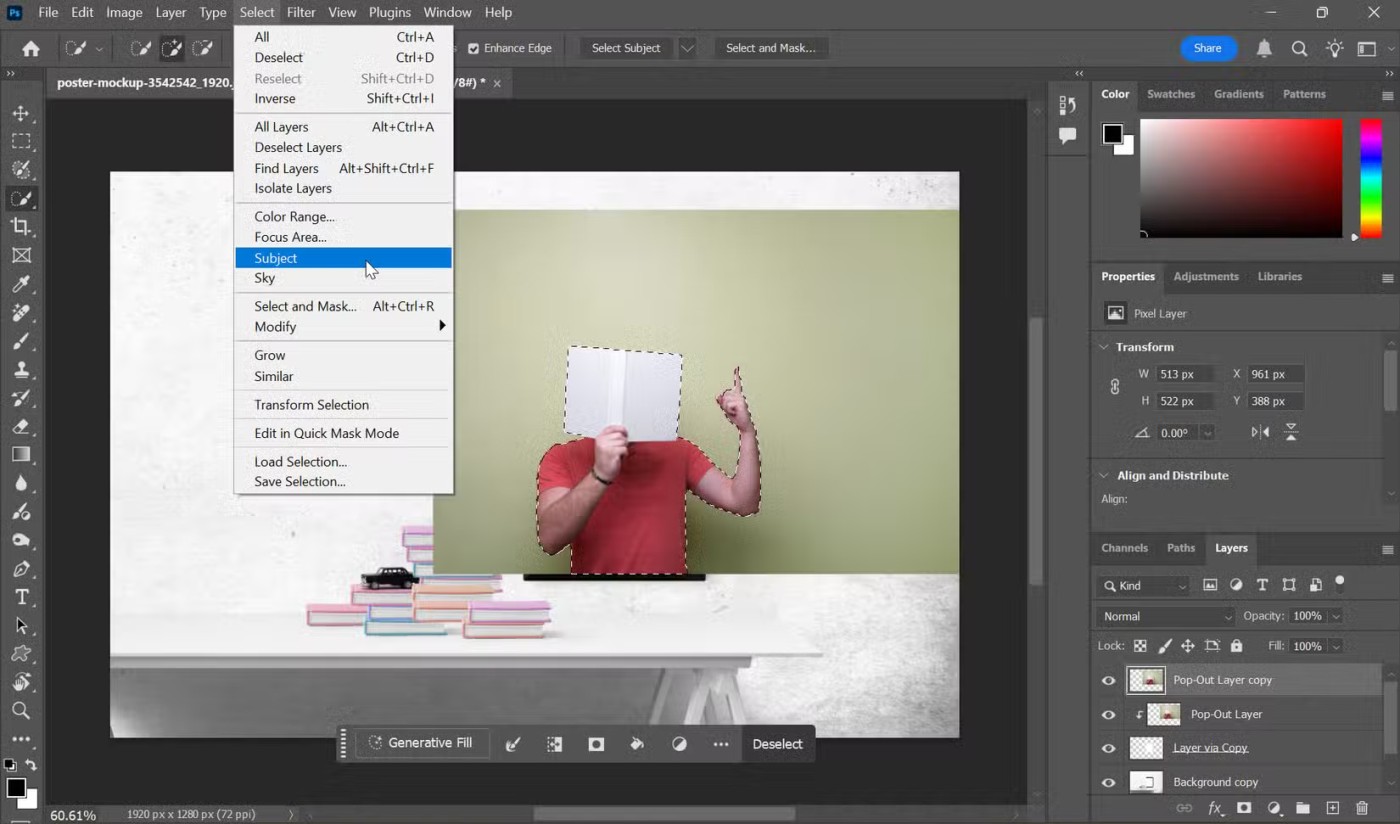
Tip : For more complex, softer selections like hair, use the Select and Mask option from the Photoshop menu (introduced in Photoshop CC 2018) to create smoother edges.
Step 6: Create a striking pop-out effect
Tie things together by showing only the parts of the image that create a striking effect.
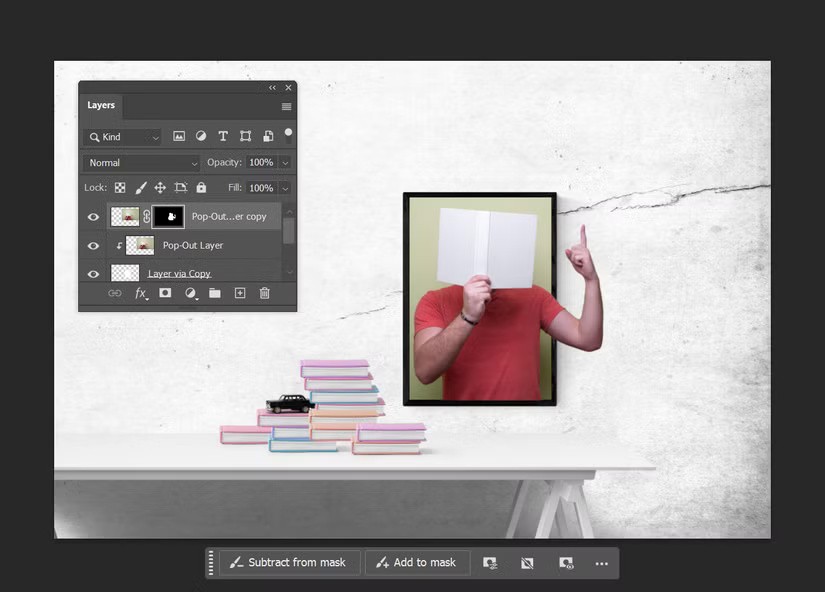
Layer masks allow you to control exactly which parts of the image get the pop-out effect applied, creating the illusion of depth.
Step 6: Finishing the effect
From here, you can add subtle effects to the highlighted subject. For example, select the layer with the pop-out subject and add a drop shadow: Layer > Layer Style > Drop Shadow .
Shadows add depth to the effect. Color Balance or Hue/Saturation adjustments can also help blend the colors between the subject and background.
Flatten the image or save it as a PSD for future editing. Finally, export the final result as a PNG or JPEG and share it. Continue experimenting with different base images for the frame and the image you want to apply the pop-out effect to.
People spend too much time manually removing backgrounds, and AI isn't always the magic it claims to be.
This tutorial will show you how to easily turn a photo into a pencil sketch using Adobe Photoshop.
Many people used to find resizing images very annoying until they learned about Photoshop's simple channel-based protection method.
Add a quick and easy poster effect to your images using Photoshop to recreate the classic look of posters printed with limited ink colors.
There are many AI photo editors that make Photoshop a second choice and AI features are useful tools for editing photos without having to learn complex Photoshop.
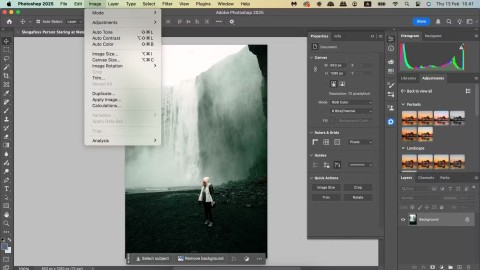
Photoshop 2025 packs new AI tools, smarter selections, and features you didn't know you needed until now.
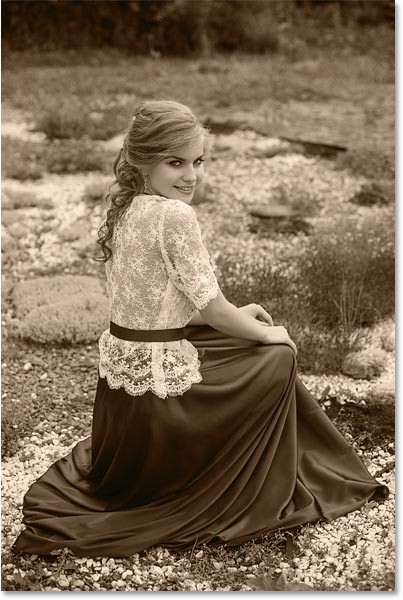
This tutorial will show you a quick and easy way to add a monochrome color effect to an image using Adobe Photoshop.
This tutorial will show you how to add canvas space and drop shadow to your photo in Photoshop to create a simple yet stylish photo border.
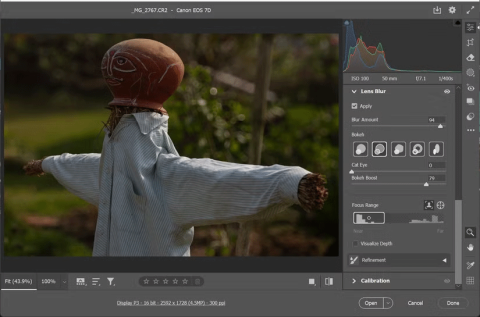
Adobe's Lens Blur tool makes it easy to review your photos, adding depth and focus to your photos.
Hidden away in the app, Photoshop Actions is a beloved feature of the popular photo editing tool, meant to speed up workflows without the need for AI.
Lightroom and Adobe Photoshop are two of the best photo editing tools, but while many professionals use both together, you only need Lightroom if you're an amateur photographer.
This tutorial will show you how to create a cool Picture in Picture effect with Adobe Photoshop by taking a single photo and creating the illusion that a smaller, cropped version of the same photo is inside it.
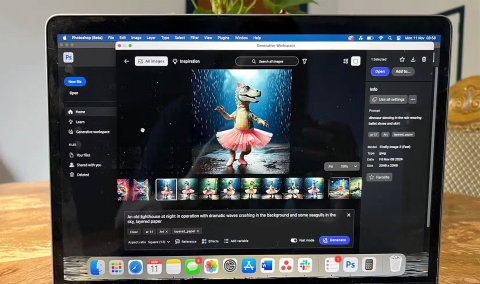
Generative Workspace is one of the top AI features announced at Adobe Max 2024. It will be the new home for your Generative AI images and files.
With Generative Fill, powered by Adobe's Generative AI called Firefly, anyone can add realistic water reflection effects to their photos simply by drawing a selection, typing a few words, and clicking a button.
This tutorial will show you how to copy an image and paste it into a selection in another image using the Paste Into command in Adobe Photoshop.
Unlock seamless collaboration with this ultimate step-by-step guide on how to make breakout rooms before a meeting starts in Zoom. Pre-assign participants effortlessly for maximum engagement. Perfect for educators, teams, and leaders.
Is Microsoft Teams down in 2026? Discover proven steps to fix "Down" server status, troubleshoot outages, and get back to seamless collaboration fast. Quick fixes inside!
Struggling with Microsoft Teams "Error H" during updates? Discover step-by-step troubleshooting for Microsoft Teams "Error H" updates, common causes, and quick fixes to restore seamless collaboration. Updated with the latest solutions.
Tired of the frustrating Microsoft Teams "Unexpected Error" blocking your mobile login? Follow our expert, step-by-step guide with the latest fixes for Android and iOS to regain seamless access fast—no tech skills needed!
Tired of Microsoft Teams "Unexpected Error" crashing your startup? Follow our step-by-step guide with the latest fixes for Solving Microsoft Teams "Unexpected Error" Startup. Get back to productive meetings in minutes!
Frustrated by Microsoft Teams "For Linux" installation error? Discover proven, step-by-step solutions for Ubuntu, Debian, Fedora & more. Fix it fast and get seamless collaboration now!
Struggling with Microsoft Teams "Password Error" because you forgot your password? Follow our step-by-step guide on how to fix Microsoft Teams password error forgot issues quickly and securely. No tech skills needed!
Struggling with Microsoft Teams "Image Error" in chat? Discover proven step-by-step troubleshooting tips to resolve image display issues fast. No more frustration—get your chats working smoothly today!
Tired of the frustrating Microsoft Teams "Free" Subscription Error blocking your meetings? Discover proven, step-by-step solutions to resolve it fast and restore smooth teamwork. Works on latest versions!
Struggling with Microsoft Teams "Web App" Browser Error? Discover proven, step-by-step solutions to resolve it fast. Clear cache, update browser, and more for seamless Teams web app access. Works on latest browsers!
Struggling with Troubleshooting Microsoft Teams Group Chat Not Loading? Discover proven, step-by-step fixes for the most common issues to get your chats loading smoothly again. Quick wins for desktop, web, and mobile.
Tired of Microsoft Teams proxy error blocking your calls? Discover simple, step-by-step fixes to resolve proxy connection issues instantly. No tech expertise required – get back to seamless teamwork!
Tired of Microsoft Teams "Time Limit" Error crashing your meetings? Follow our proven, step-by-step guide to fix it quickly—update app, clear cache, and more for seamless collaboration. Works on latest versions!
Facing Microsoft Teams Layout Error after the latest update? Discover proven step-by-step fixes to resolve layout glitches, restore perfect UI, and boost productivity fast. No tech skills needed!
Struggling with Microsoft Teams "Error K" Security? Follow our step-by-step guide to fix it quickly—no tech expertise needed. Get back to seamless collaboration today!
