How to Update Google Chrome Browser

Learn how to update Google Chrome browser on Windows, Mac, and Android in minutes to enjoy better security, speed, and new features. Follow these clear steps.
Six distinct lighting styles are built into the iPhone as Portrait Mode. But they’re not just for selfies. Try out all six lighting styles to see how they work, where they shine, and how to use them to take better photos.
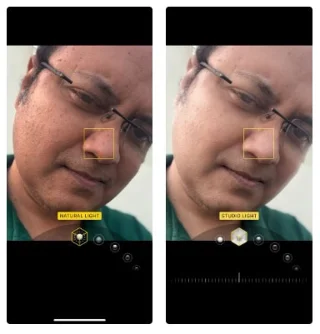
1. Natural light
Simple and reliable
This is the default setting in Portrait mode. It keeps everything natural while slightly blurring the background. Always start here for all your photos!
Natural Light mode is good for candid and everyday photos. It's clean and doesn't mess up the lighting too much. Skin tones stay true and the effects are subtle. You don't have to think too much about the details other than the lighting you're shooting in.
But your creativity with this is very limited. Sometimes switching to a different mode can add more personality to your photo. Other modes let you adjust the intensity, but Natural Light mode doesn't have any adjustment sliders.
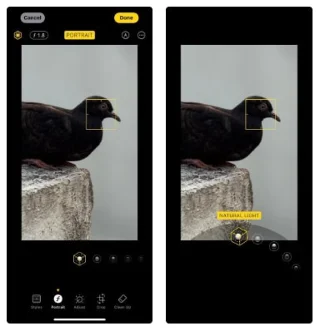
Tip : This is like taking a photo without a filter, so try not to shoot in direct sunlight. Early morning or evening near the “Golden Hour” is perfect. Tap to focus and slightly adjust the exposure slider on your iPhone if the lighting isn’t great.
2. Studio lighting
Soft light for subject
Studio lighting adds a soft layer of light to your subject. It brightens the face and smooths out shadows, especially around the eyes.
Studio lighting tries to simulate the lighting fixtures found in professional studios, so it's ideal for selfies, indoor portraits, LinkedIn profile photos, and anything that wouldn't look good in flat lighting.
It's often a lifesaver in low light. It gives a subtle boost without looking "filter-like". But don't use it too often. Faces can look too smooth, especially on older subjects.
Tip : Use a neutral background to keep the entire focus on the subject. Switch between Studio Lighting and Natural Lighting for comparison.
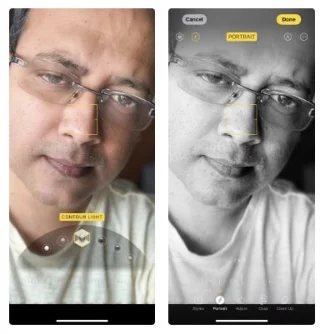
3. Edge light
Add shape and mood
Rim lighting highlights the contours of the face. Now we’ll look at modes that are more like the harsh lighting techniques used by studio photographers. This portrait mode deepens the shadows and highlights to make the subject look more defined. For example, you may notice that the chin on your face is a little darker or lighter depending on the light source.
Rim lighting is ideal for more stylized portraits and black and white photos, like the screenshot below. It gives amateur photos a professional look without much effort. Use it selectively when you want your photo to feel more than just a random snapshot.
You need a bit of contrast to bring out the effect. Shadows and highlights need a bit of light. So avoid dark areas when using this mode. Place your subject near a window for natural side lighting.
Tip : Portrait mode isn't just for selfies. Try it on objects and see how it adds mood to things like coffee mugs or houseplants.
4. Stage lighting
Isolate the subject
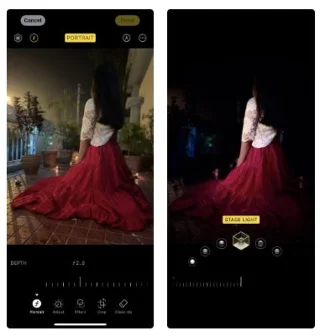
Stage lighting is like taking a photo against a solid black curtain. It completely eliminates the background. The black backdrop obscures everything and focuses only on the subject.
Stage lighting is great for dramatic portraits, product photos, or when you want a “stand out” look. You can also try taking great profile photos for your online presence.
It’s impressive, but use it sparingly. It works to look like a studio shot. The hard part is getting it to work, because computational edge detection is hit-or-miss. If your subject (like a pet) is bushy, it can look bad. People wearing glasses sometimes have too much blurred edges. So keep your subject well lit and in front of a simple background.
Tip : Don't use this mode for group photos. Just one subject at a time will work.
5. Monochromatic stage lighting
Bold and timeless
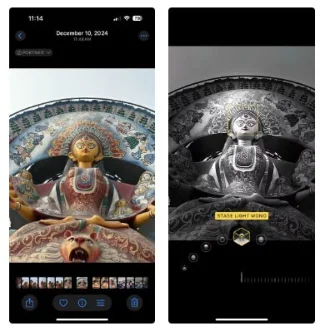
This is the black and white version of Studio Light. High contrast and removes all color. Like Studio Light, this mode calculates in real time and focuses on shape and light.
Monochromatic stage lighting is great for street portraits, serious expressions, and anything you want to give a vintage old world feel.
Using this mode forces you to focus on the person's face and mood. And of course, it makes us all look like better photographers than we are!
However, this mode has some of the same problems as Studio Lighting. Edges can look wonky. And if the lighting is too flat, the image loses its appeal.
Tip : This mode works well with black outfits or prominent facial features. Try this mode when you want your photos to look minimalist!
6. Monochromatic light with low contrast
Clean and modern
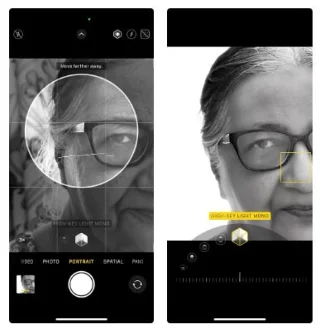
In this mode, the subject turns gray and the background turns white. Like all high-key photography, this effect is high contrast and removes all color. Think of it as the opposite of Stage Light. And like Stage Light, use it sparingly. It’s more dramatic and surreal than any other mode.
You can use high-key to take street portraits of pets and people.
The effect looks great when separating the subject from the background. You can even capture curly hair. The high-key effect of this mode works best with dark or patterned clothing. If the subject is wearing white, they can fade into the background.
But be careful with too much white in the photo, as it can be washed out. Add some contrast.
Tip : Don't shoot against a cluttered background. Portrait mode software will take over, but its edge detection needs all the help it can get. It's one of the best modes to shoot in live mode.
How to use each portrait mode on iPhone
Portrait mode isn’t for everyone. Different lighting styles give you different vibes. Some modes are great for casual snaps. Others work better when you slow down and think about the photo. If you see weird edges like see-through glasses, switch to a different mode or edit the photo later.
Here's how to use them:
You don’t need to memorize every rule. Just try each mode. Take a few extra seconds to find the right one. You can take great photos without filters and without using the iPhone’s camera style. When in doubt, choose the basic Natural Light mode for a photo and then tweak the other modes in post-production. But try shooting in a portrait mode and see if it helps you develop an eye for a scene.
Learn how to update Google Chrome browser on Windows, Mac, and Android in minutes to enjoy better security, speed, and new features. Follow these clear steps.
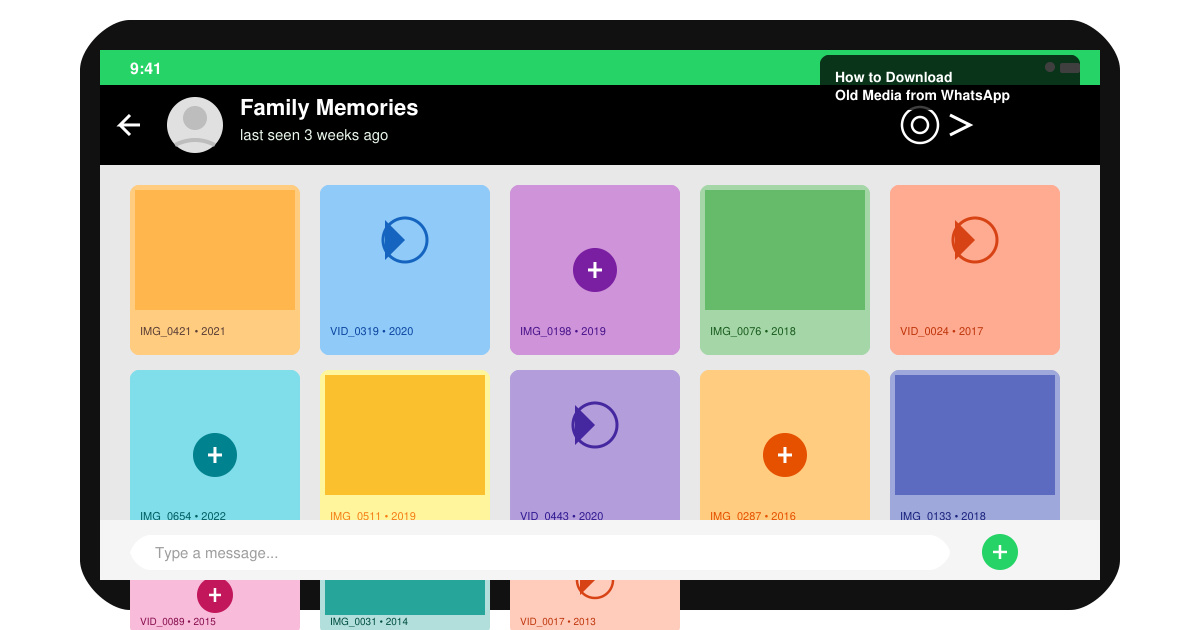
Learn how to download old media from WhatsApp and recover photos or videos from past chats. Follow these clear steps to save files that no longer appear in your gallery.
Facebook Messenger Isn T Working on your device? Use these exact troubleshooting steps to restore chats, calls, and notifications fast on Android, iOS, or desktop.
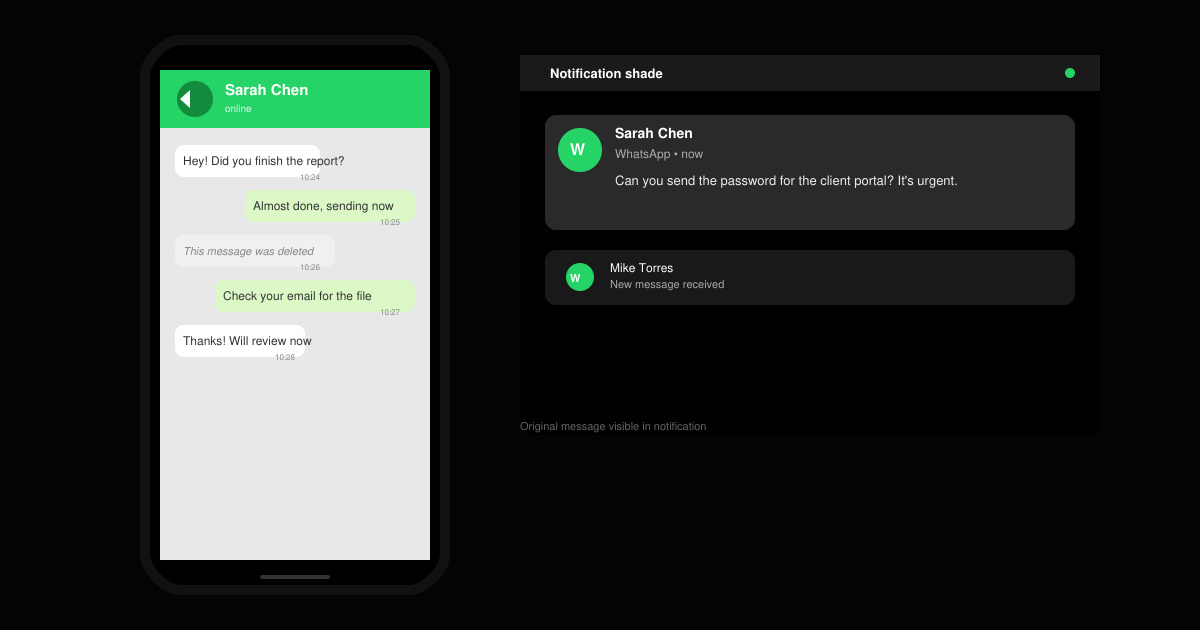
How to See Deleted WhatsApp Messages using your phone's built-in tools. Follow these exact steps to recover messages that contacts have deleted from chats.
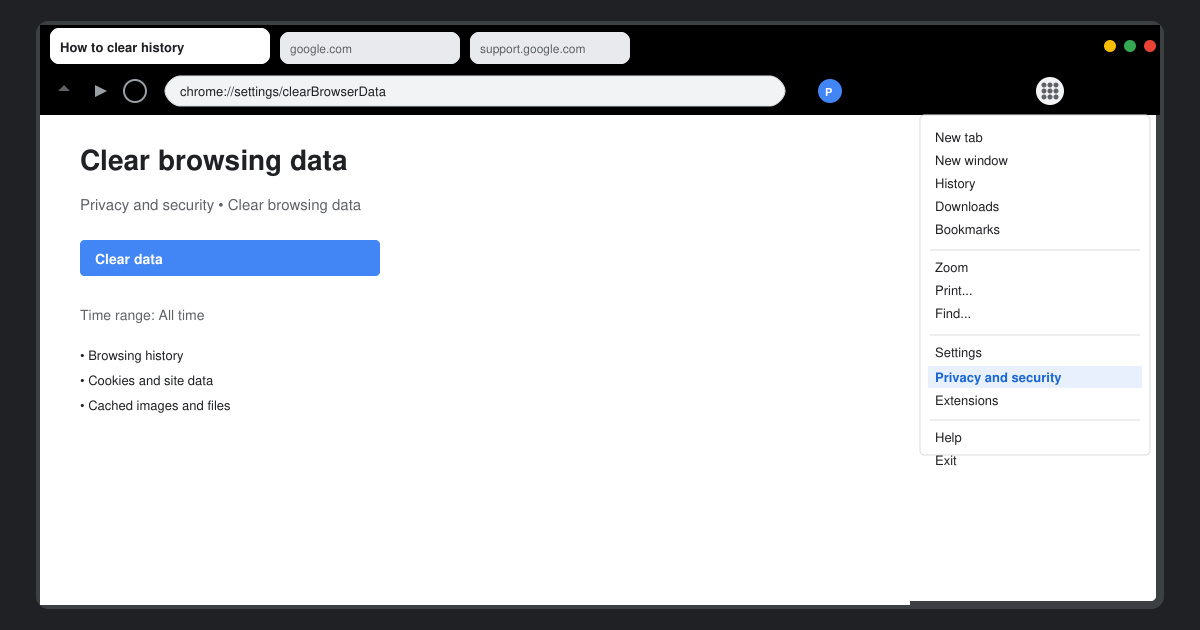
Learn how to clear browser history in Chrome on desktop and Android with this exact step-by-step process. Keep your browsing private and free up storage space quickly.
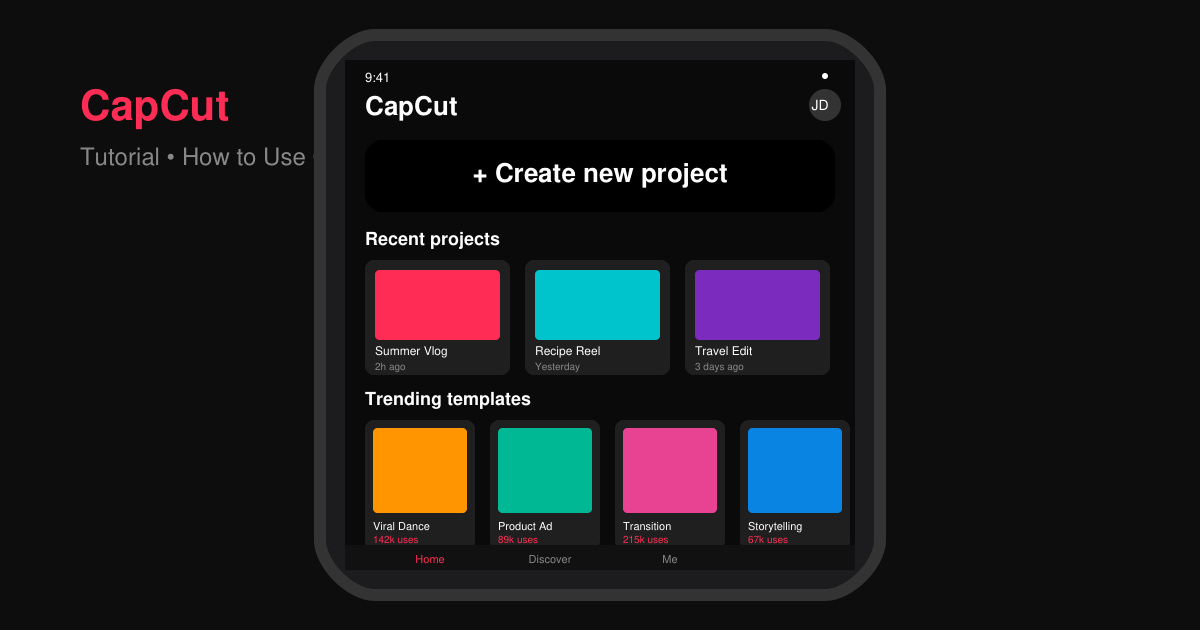
Master how to use CapCut with this practical walkthrough covering project setup, editing tools, effects, and export options for high-quality video results.
Get the latest WhatsApp App Update Download from official sources to access new features and security improvements. Follow these clear steps for Android and iOS devices.
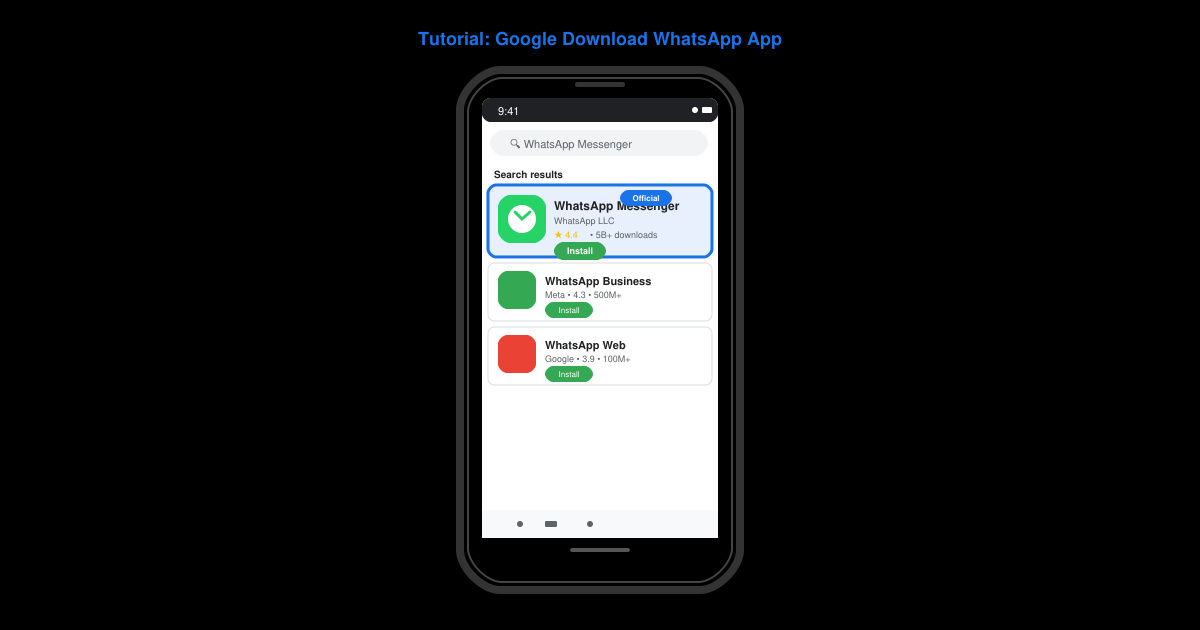
Learn how to safely Download WhatsApp App for Android from the official Google Play Store. Follow our clear step-by-step instructions to install the latest version quickly and securely.
Google Download WhatsApp App safely through the Google Play Store with this clear guide. Get the official version on your Android device quickly and avoid fake downloads.
Facebook and Messenger not working can disrupt your day. Follow these targeted fixes to restore access quickly on mobile and desktop.