How to Check Purchase History on Apple App Store
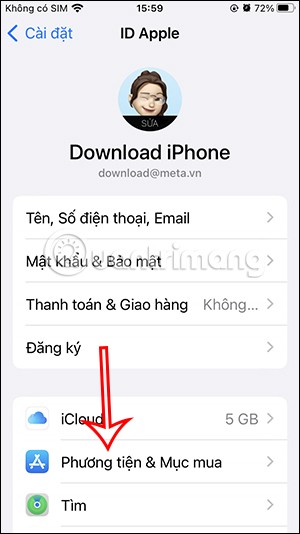
Through your purchase history on the App Store, you will know when you downloaded that app or game, and how much you paid for the paid app.
There are a few smartphones that offer better photo quality than the iPhone. However, when it comes to high resolution and the ability to sync photos between devices, the iPhone is the top choice.
But taking good photos means you'll take a lot of them, so organizing your photos on your camera requires a few tricks.
Table of Contents
While this article will break down specific ways you can organize your photos, we also want to give you some space-saving tips before we get started:
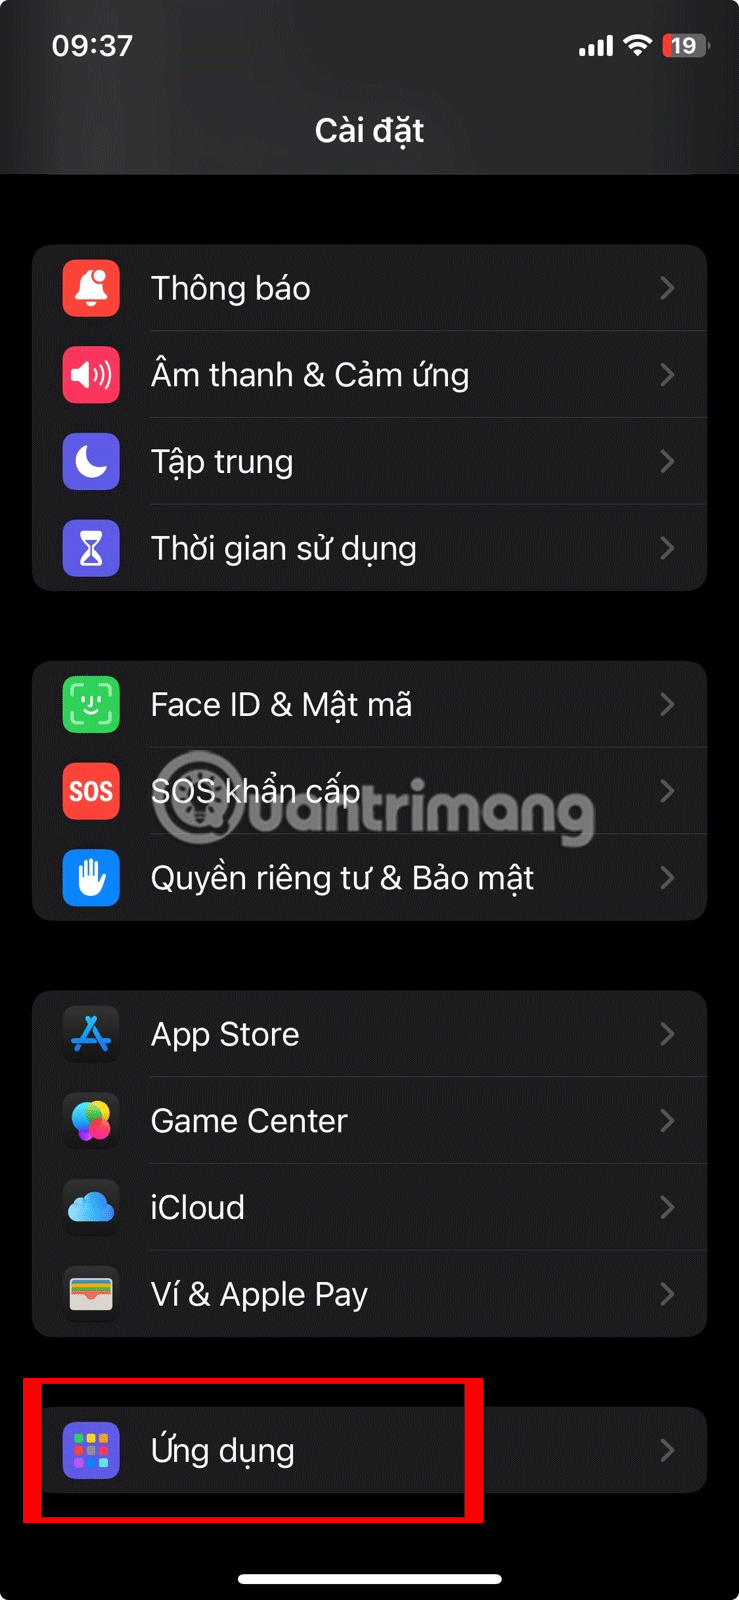
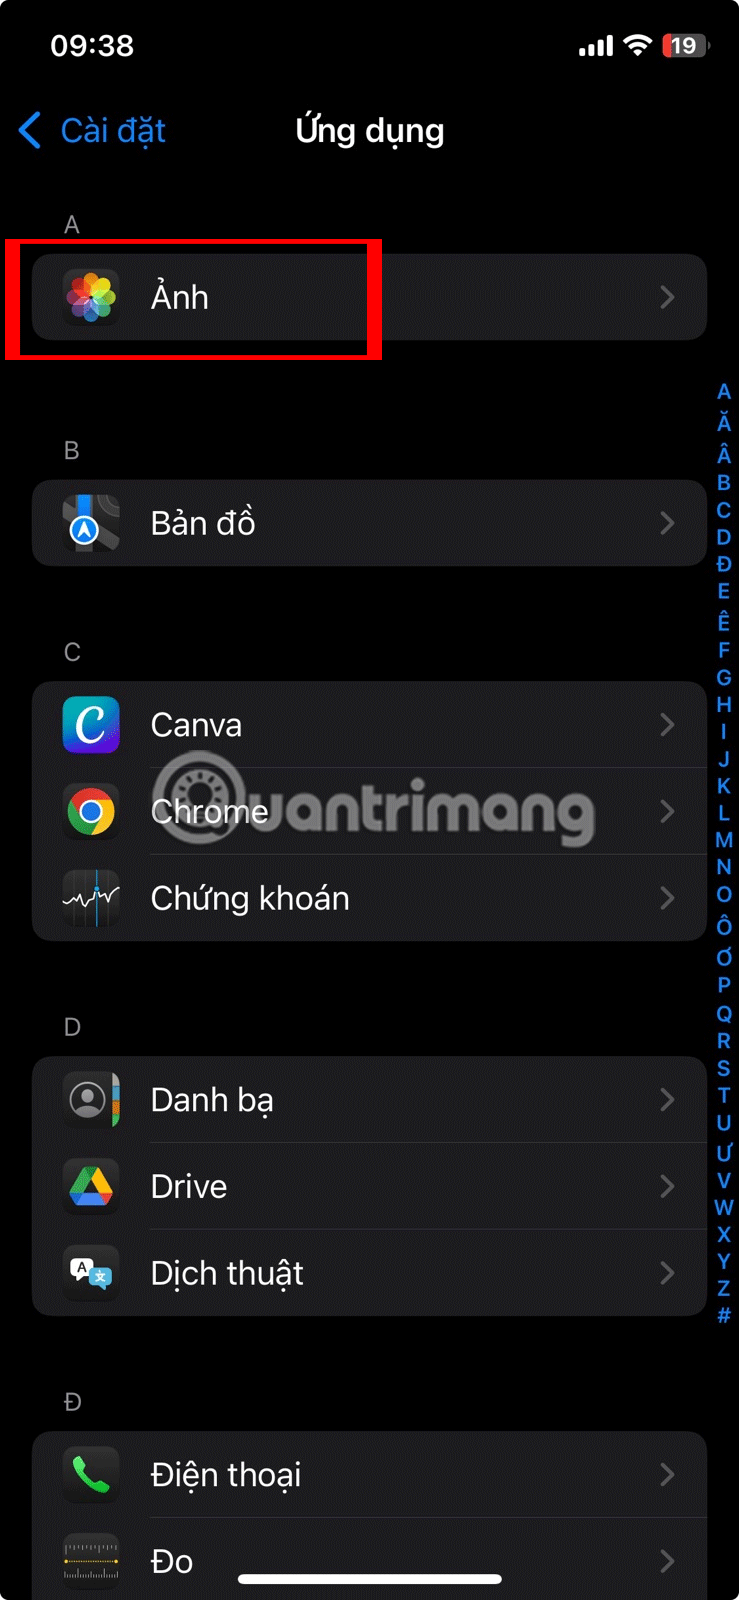
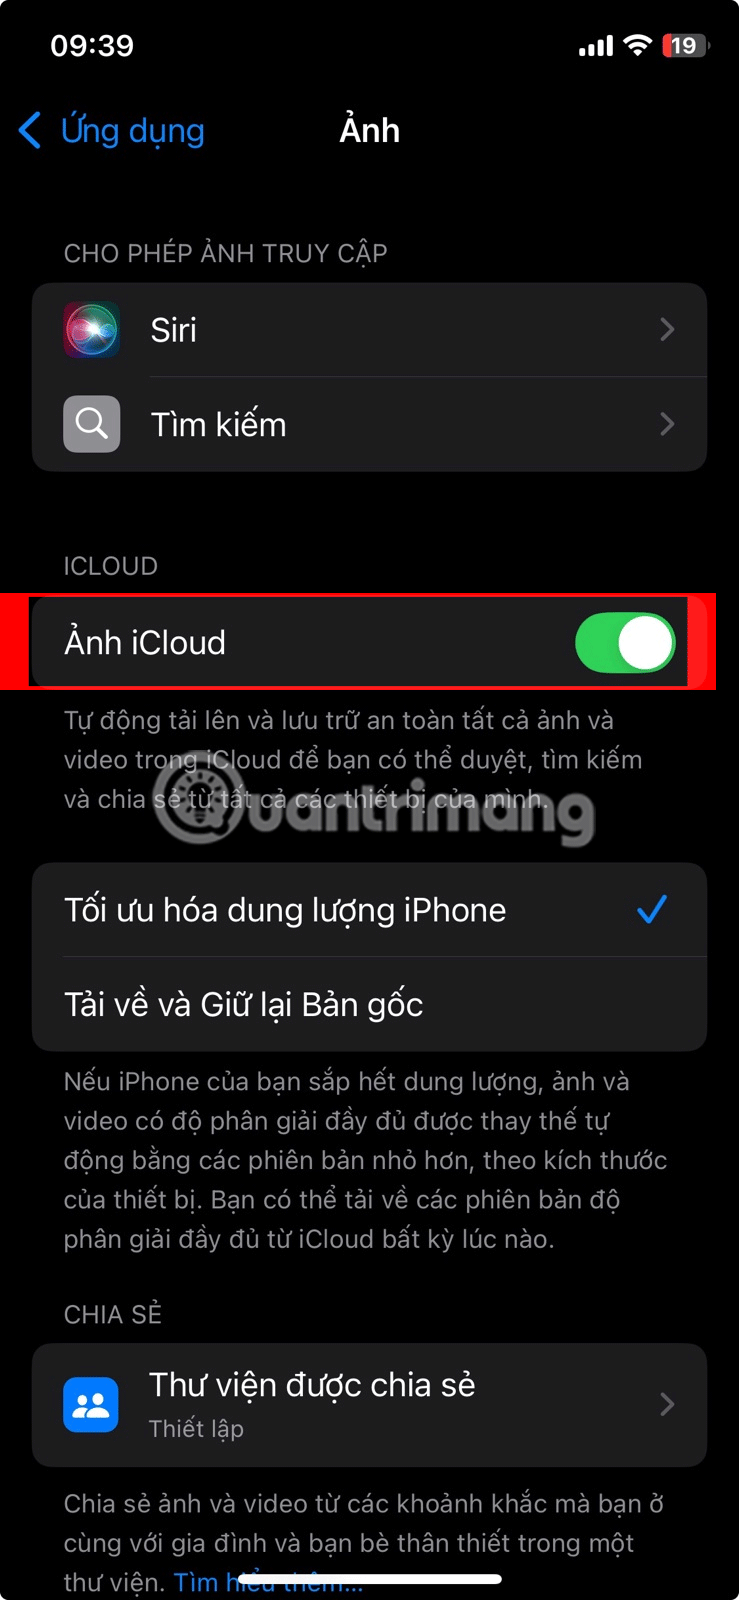
Now that you know how to save space on your iPhone, let's take a closer look at how to organize your photos.
Let's say you want to organize your photos into albums. This is the simplest way to organize your photos because you can group photos that span multiple locations, dates, people, or events.
Here's how you can create a new photo album:
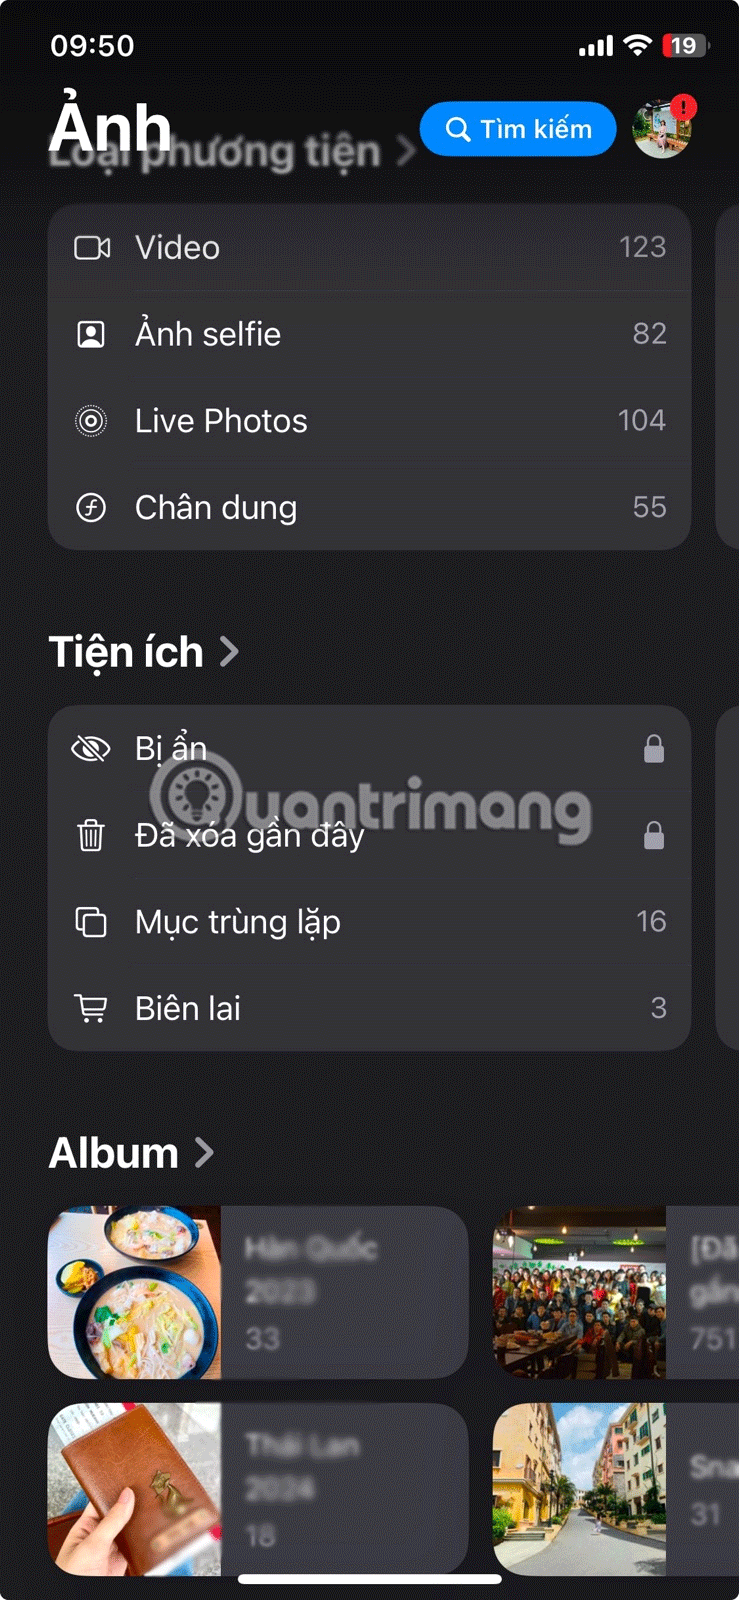
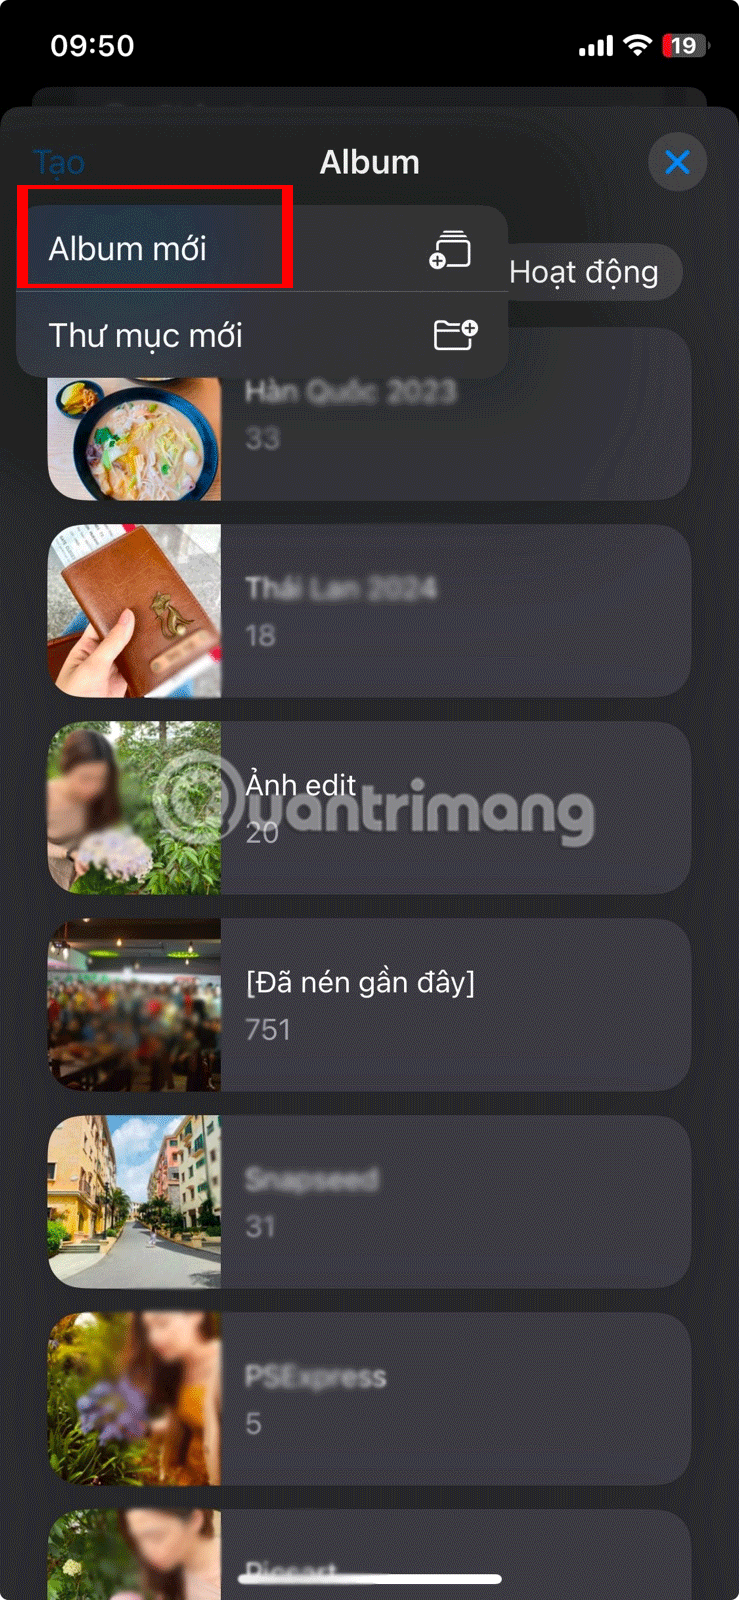
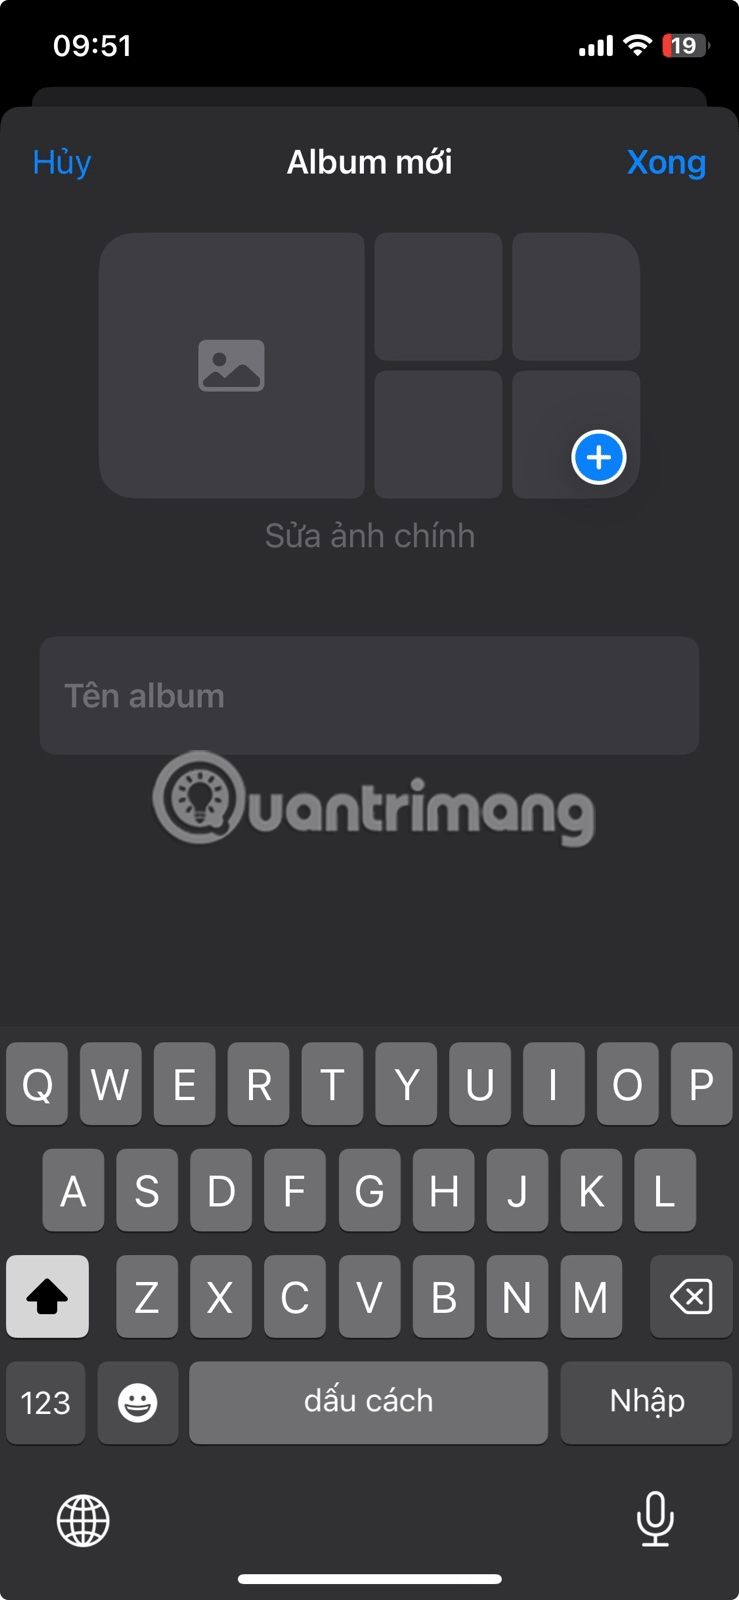
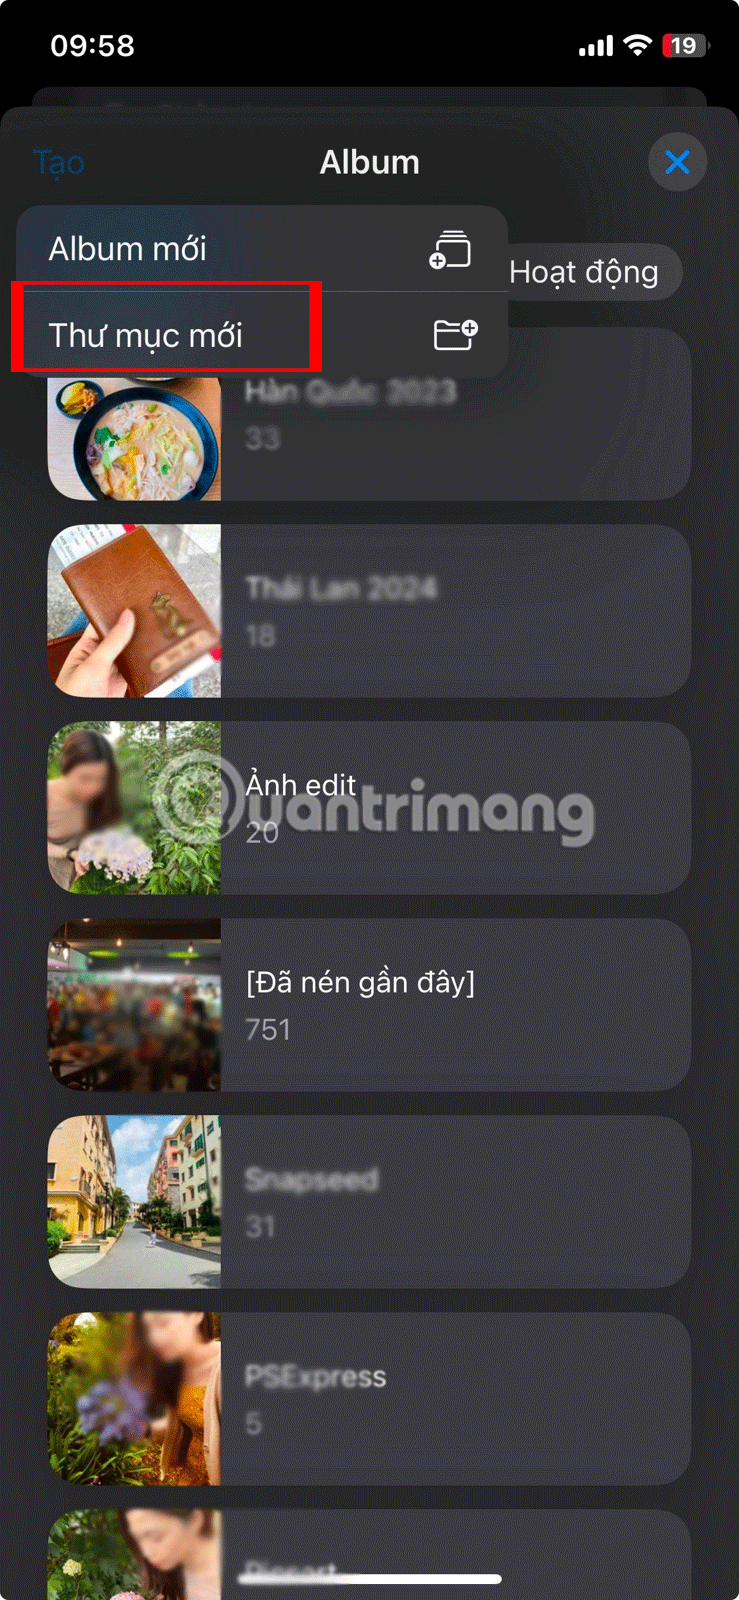
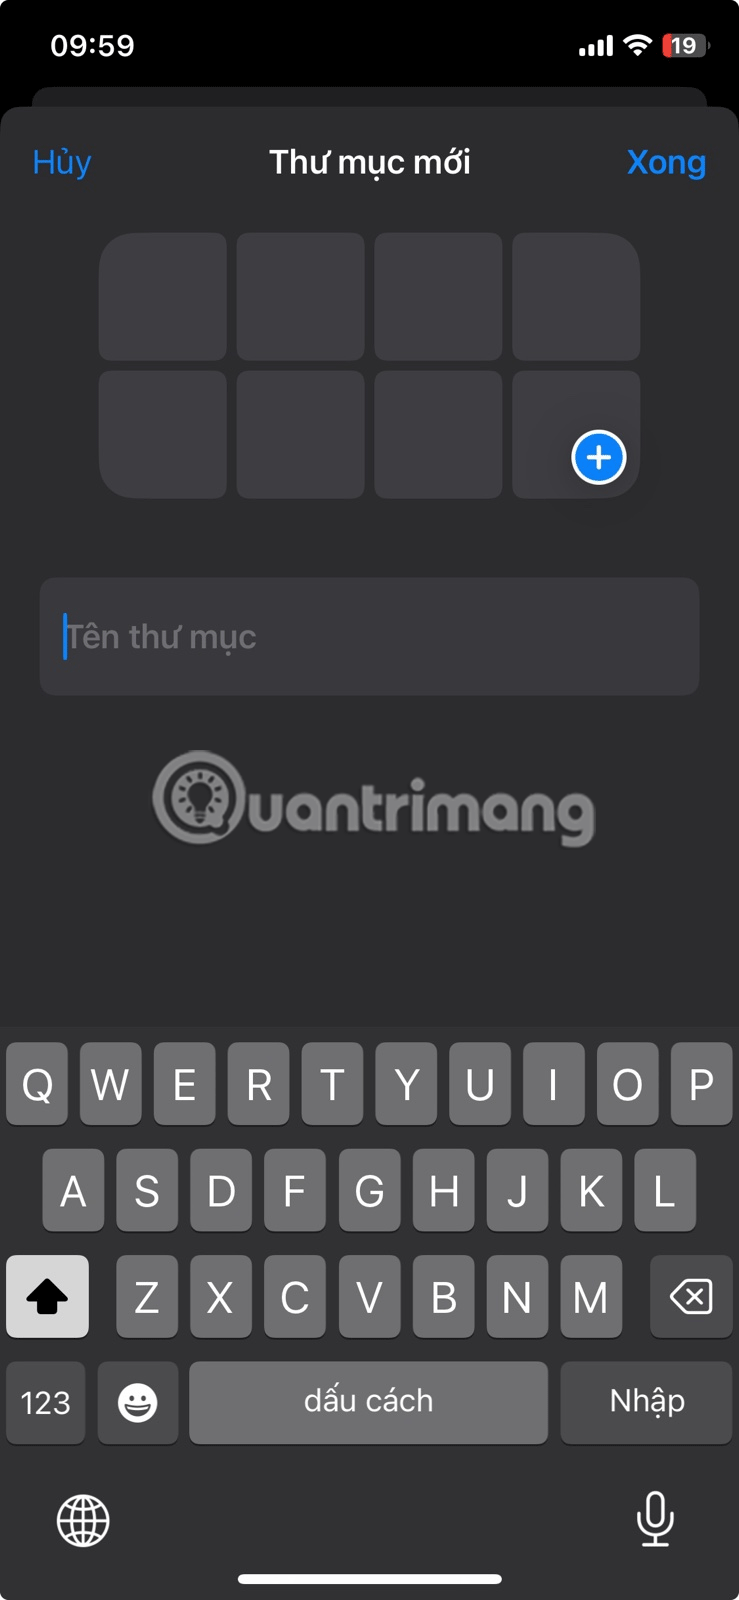
To better organize your albums, you can also group multiple albums into folders. For example, if you take photos of different projects for your job, you might want to create a "Work" folder to organize all of your work-related albums.
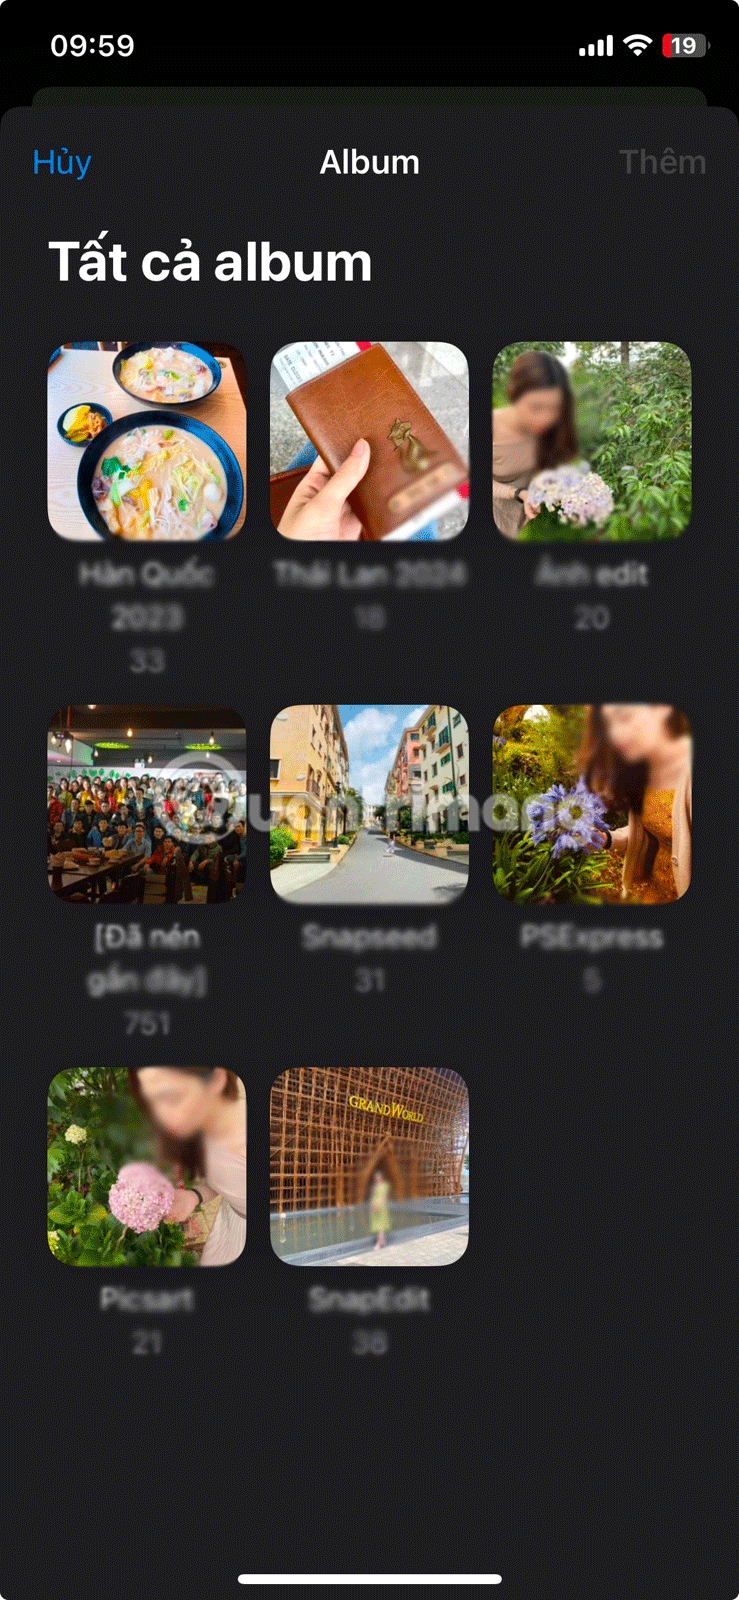
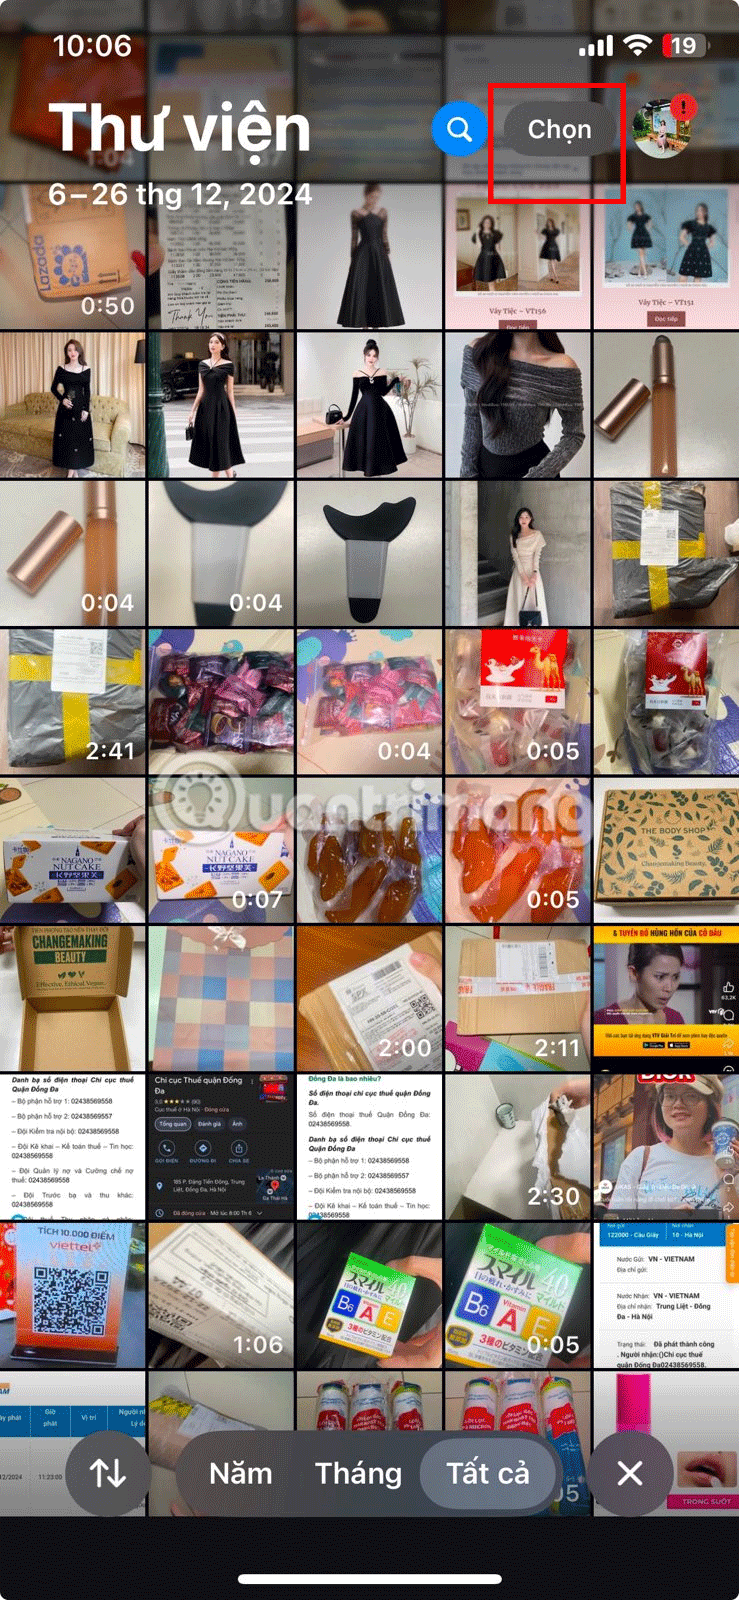
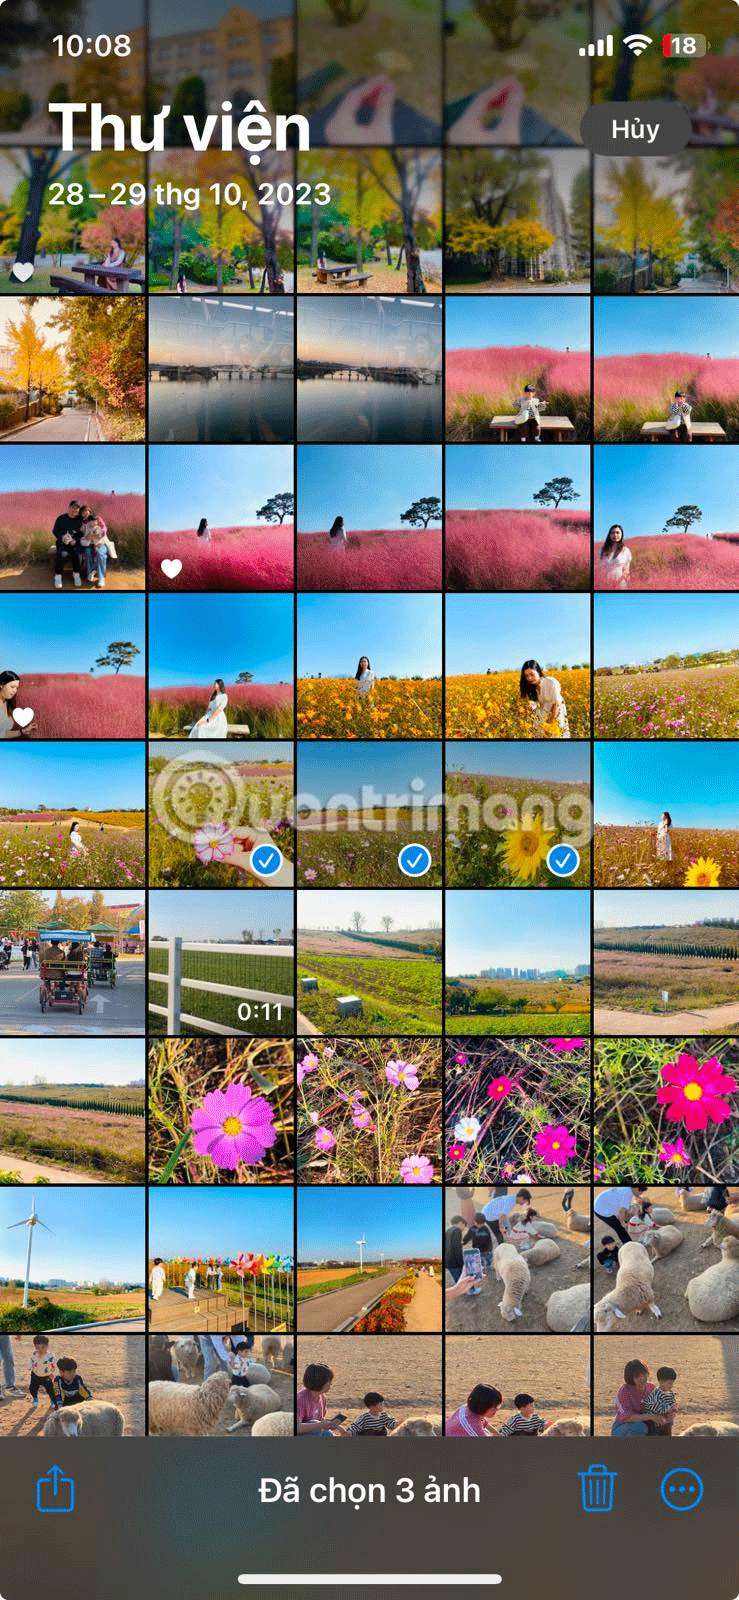
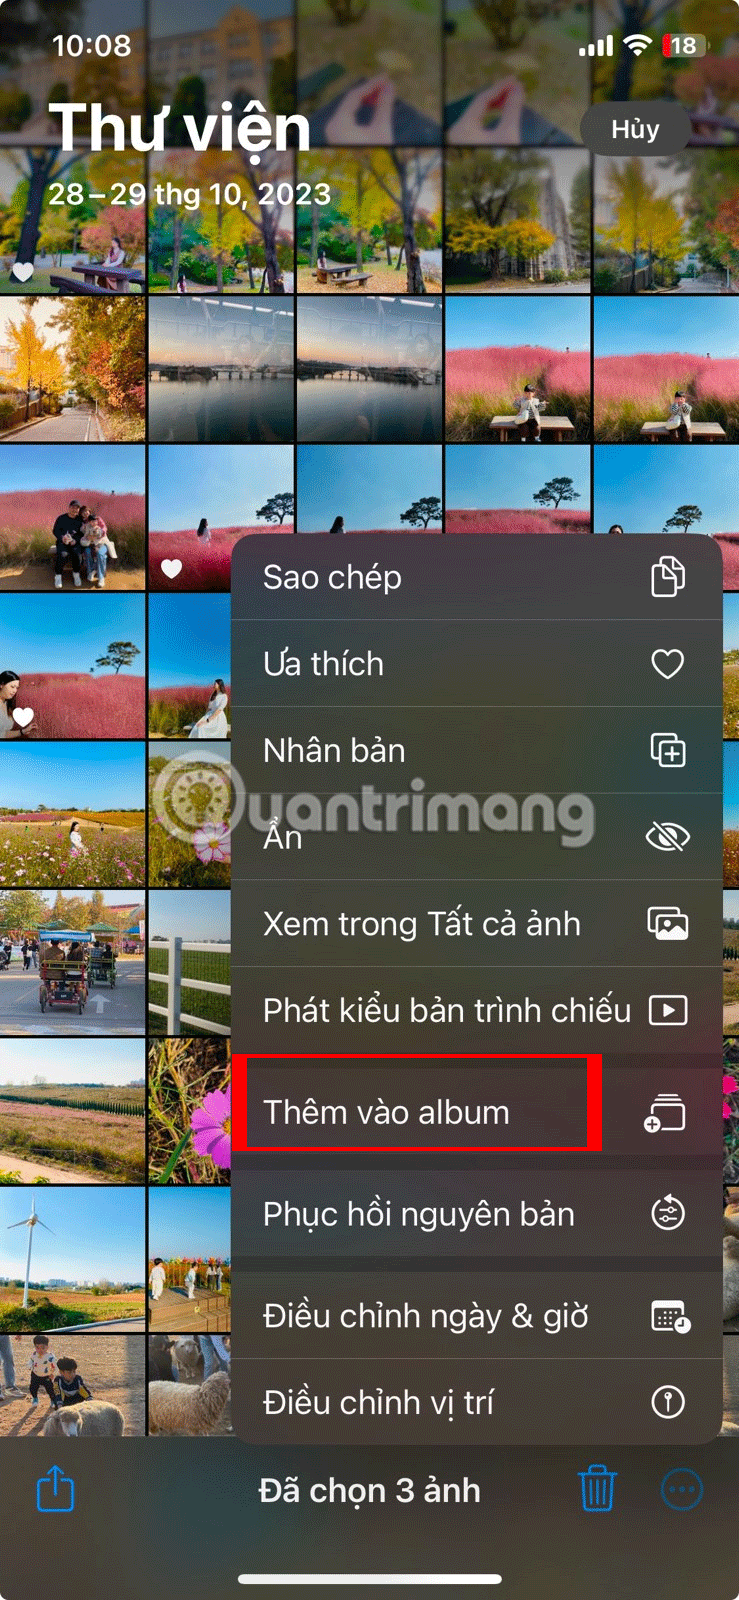
If you have photos on your phone that you forgot to add to an album:
Alternatively, you can scroll through your photo library, tap Albums , and select the album you want to add the photo to. Then, just tap the plus sign (+), select the image you want to add, and tap Add .

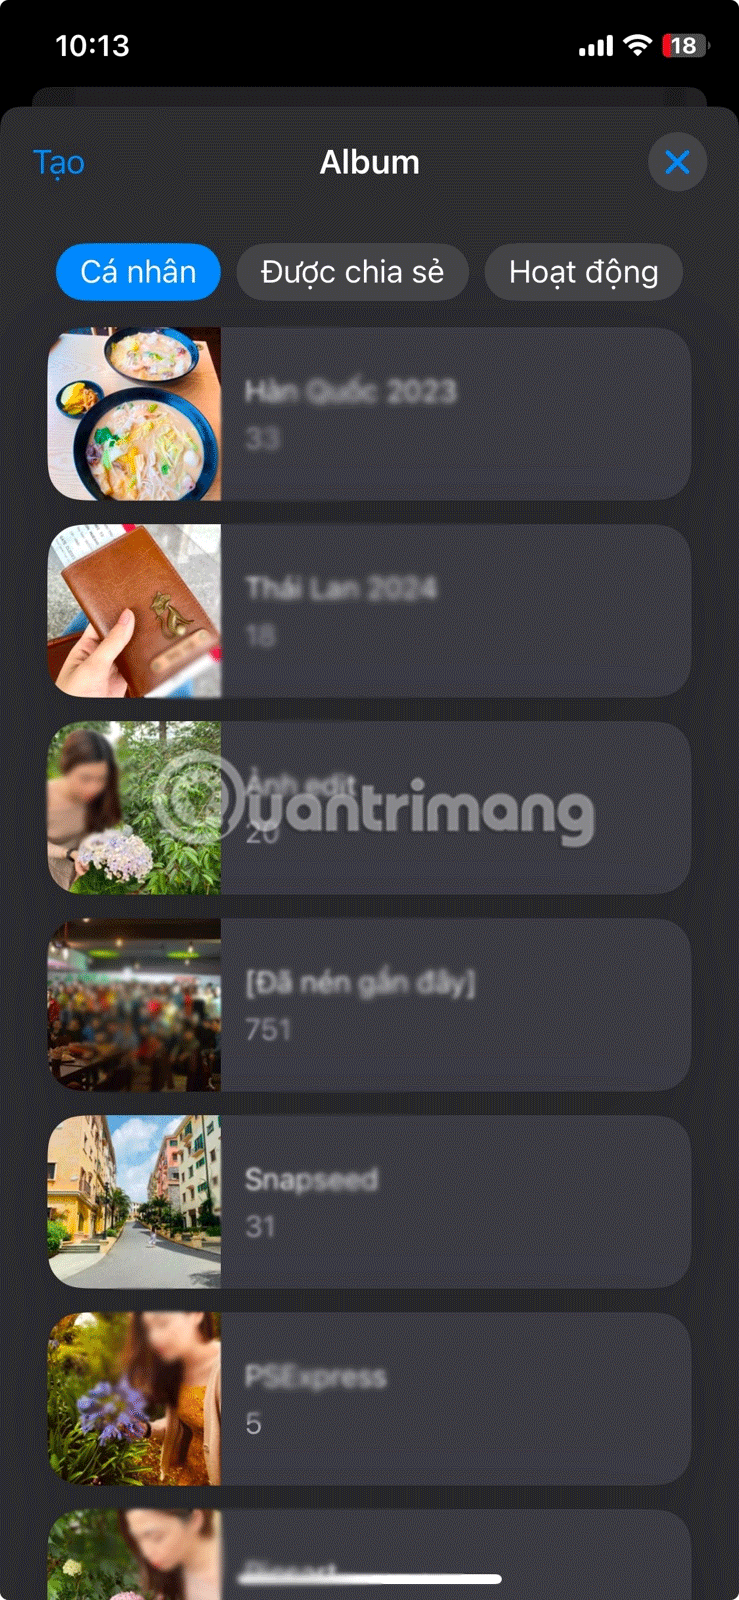
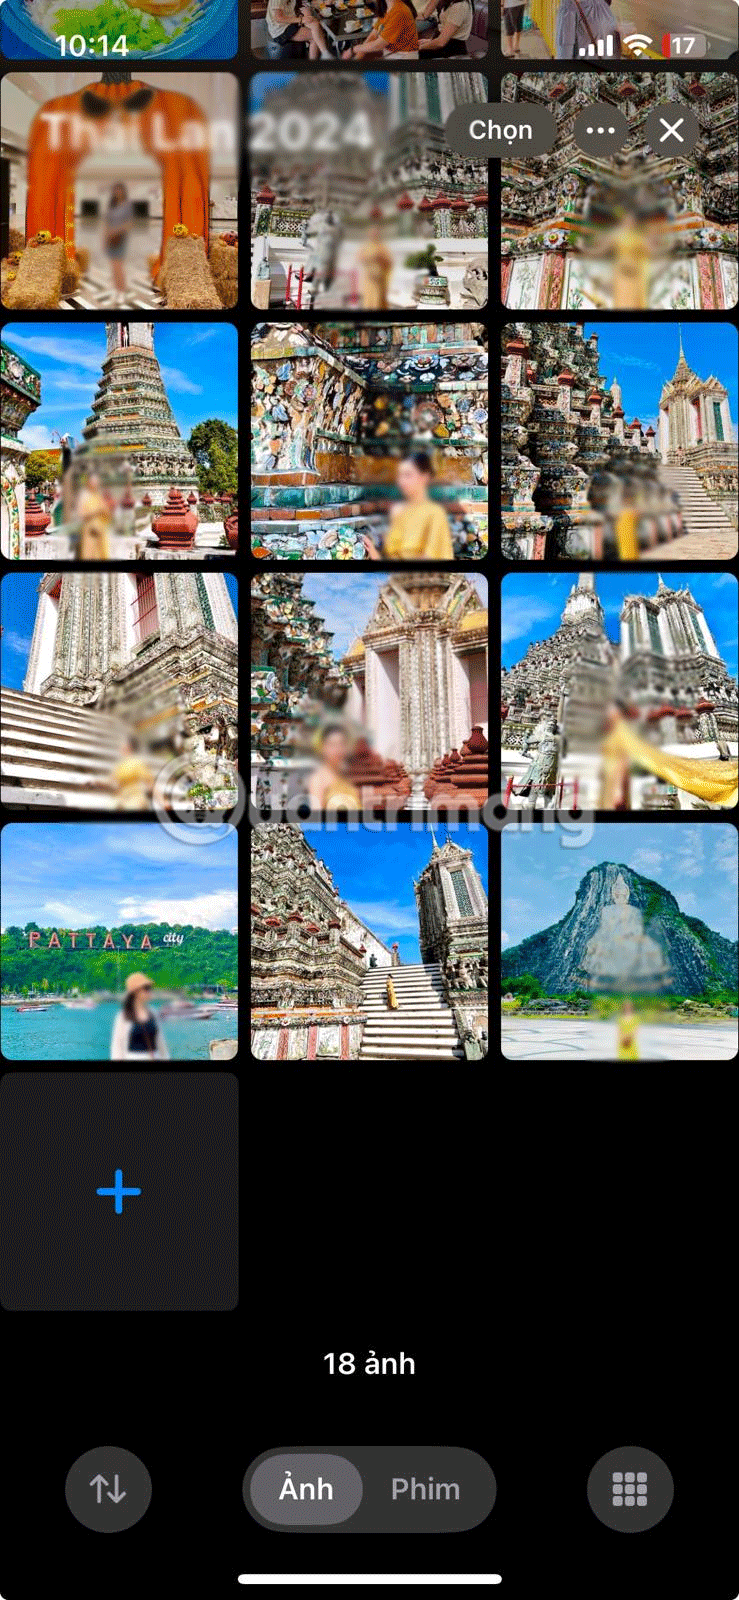
From now on, whenever you need to find photos from a multi-day event, you'll be able to go into your Photos app and see the appropriate album!
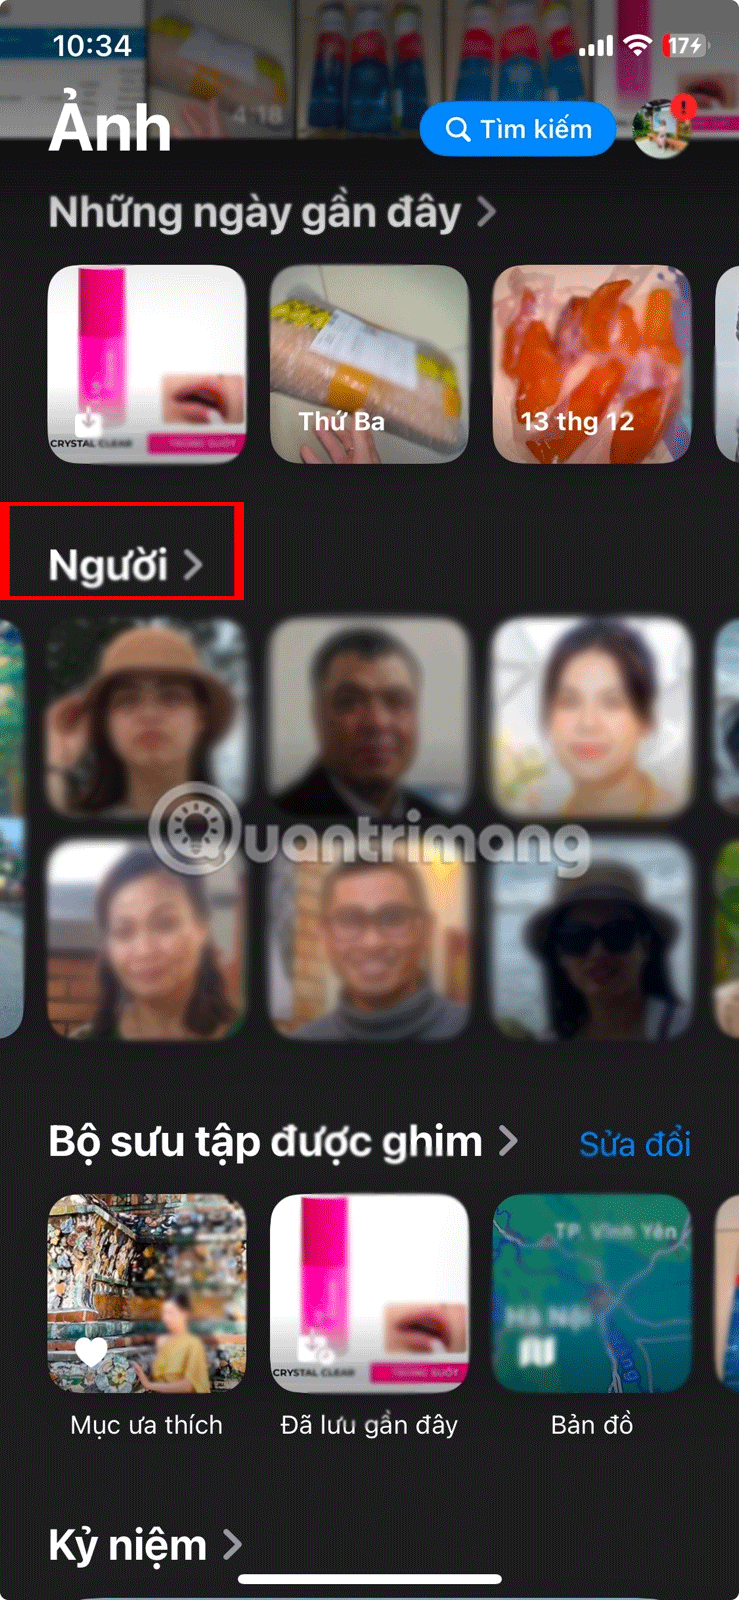
The next best way to organize photos on your iPhone is by people. This makes it easy to find photos of yourself, your friends, or your family.
Modern versions of iOS can recognize faces, allowing the iPhone to automatically detect and organize photos by person. These unique faces are recognized as individuals, allowing the iPhone to group photos of that person together, regardless of date or event, or even if they are in a group photo.
However, sorting photos by name or person requires some setup. Here's how to do it:
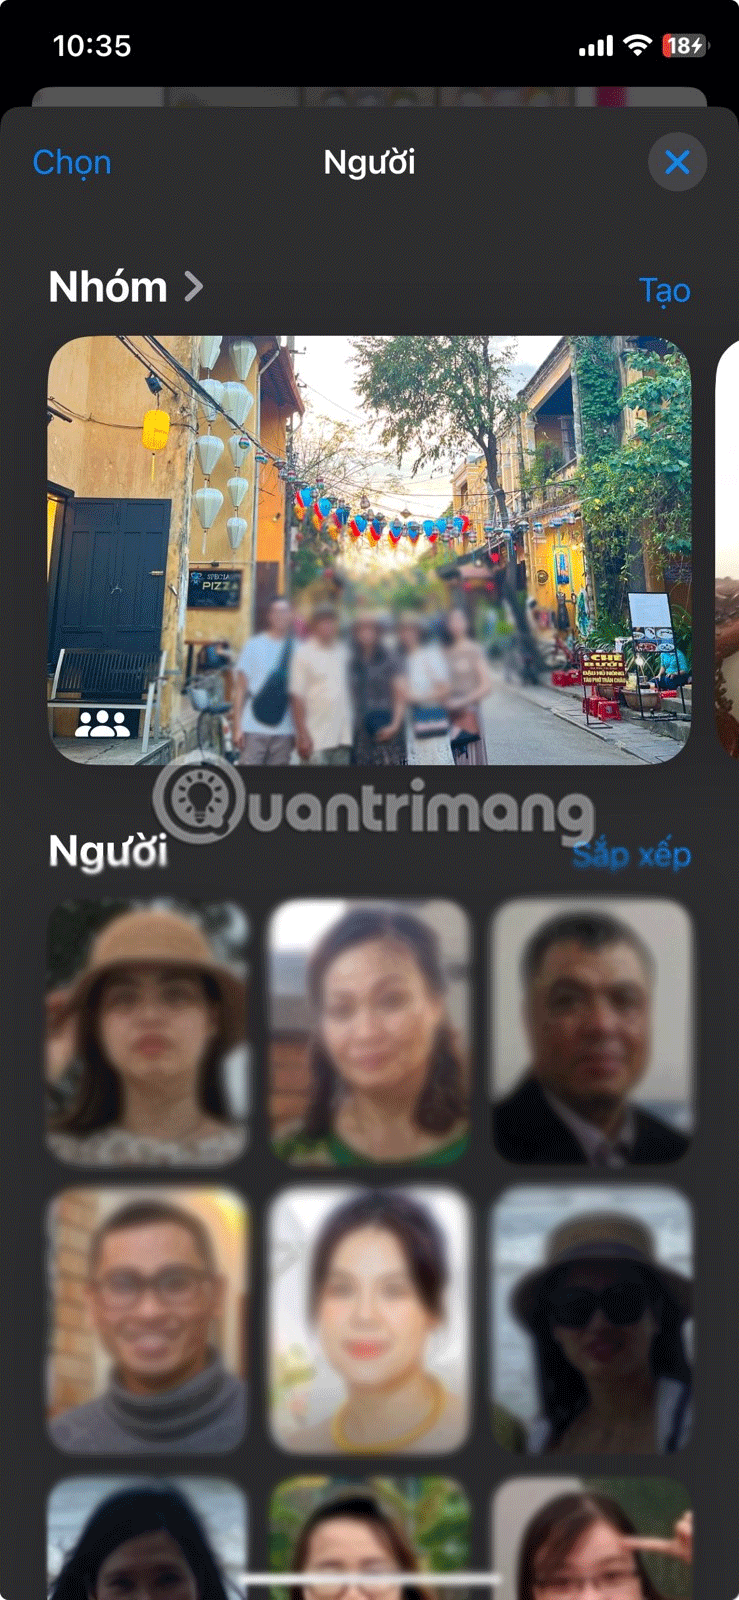
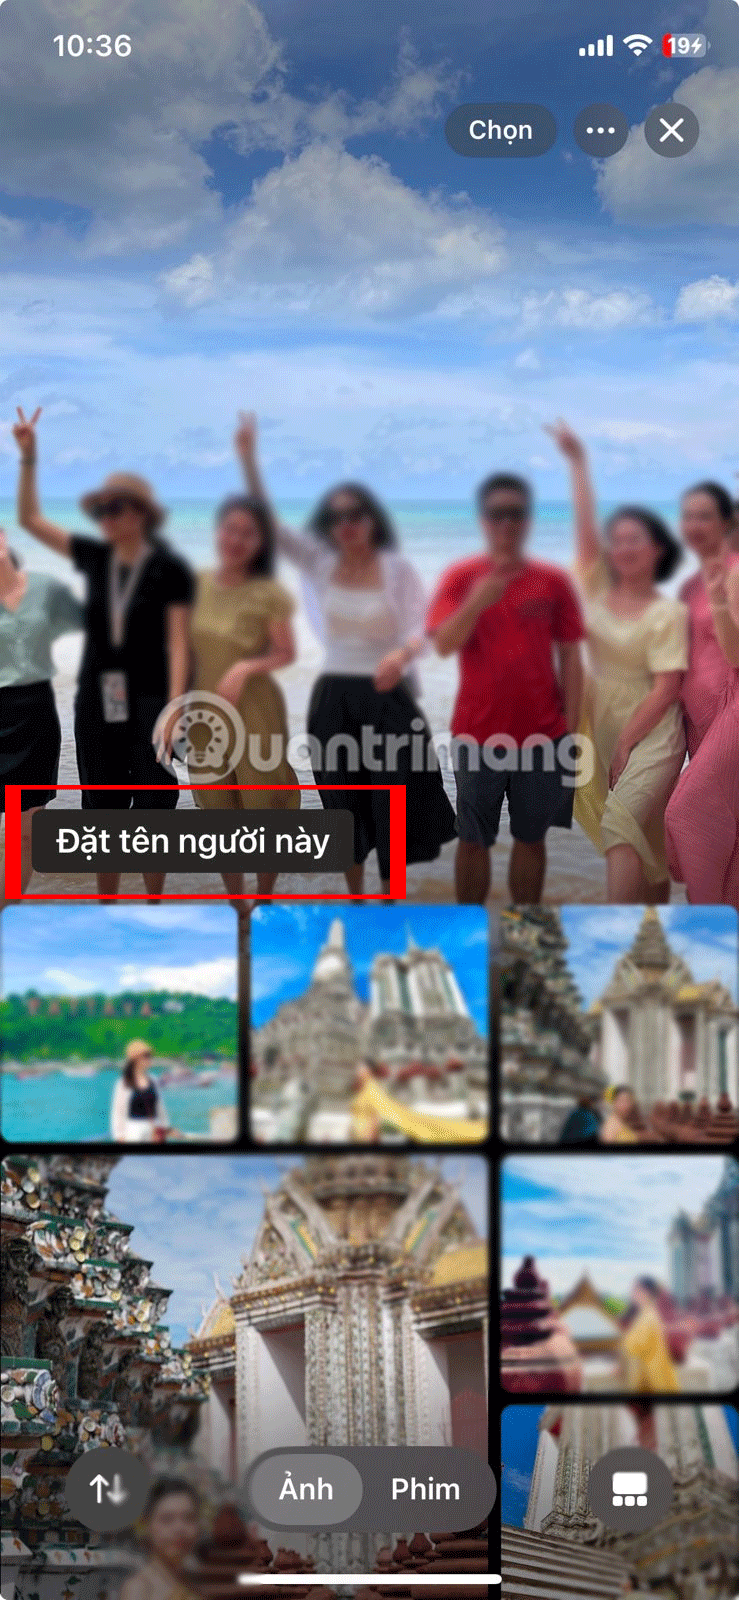
Once a person is named, all future photos that include their face will be tagged and searchable by their name, making it easy to find them at any time.
If you want to create an album for a specific person, you can do so by selecting their face and tapping Select in the upper right corner. Then, select Select All and tap the ellipses (...) button in the lower right corner of the screen. Finally, select Add to Album and tap the plus sign (+) to create an album for them.
The Photos app on your iPhone will also organize your photos by location if you travel a lot. But like the previous method, you have to set this up first.
When you take a photo with iPhone, the photo's metadata automatically records the photo's location—as long as you have Location Services turned on for the Camera app.
Here's how to manage Location Services on iPhone:
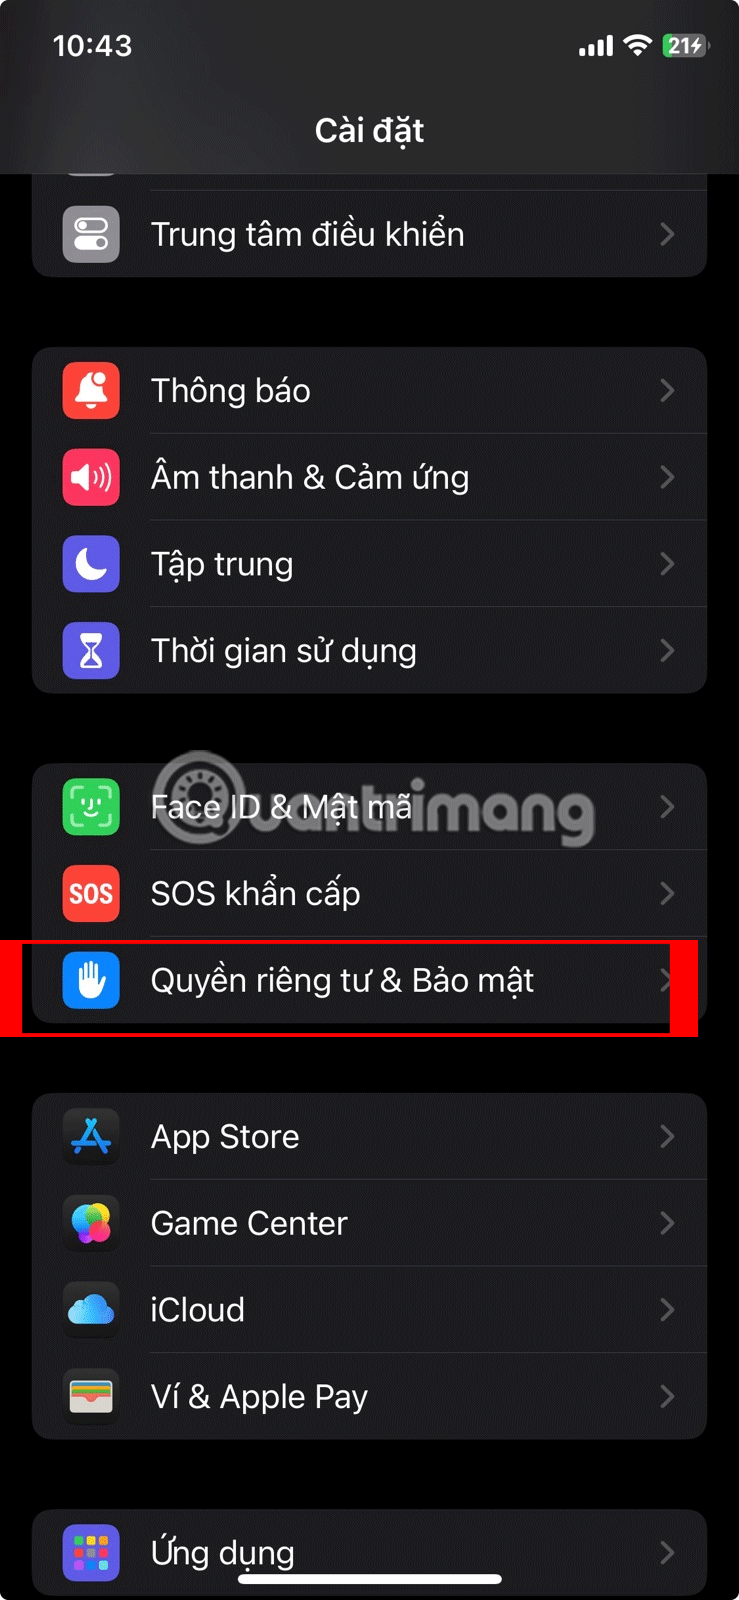
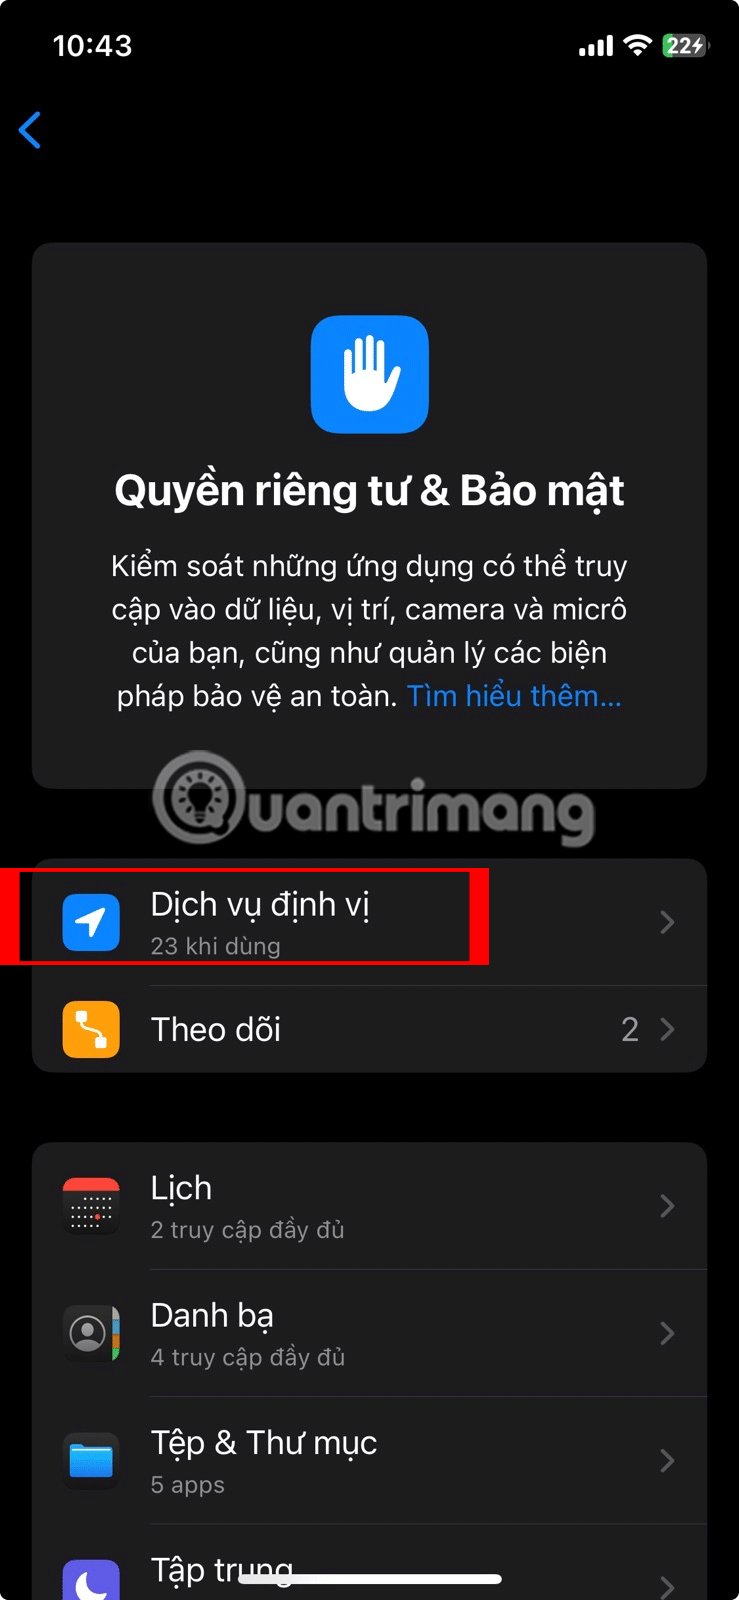
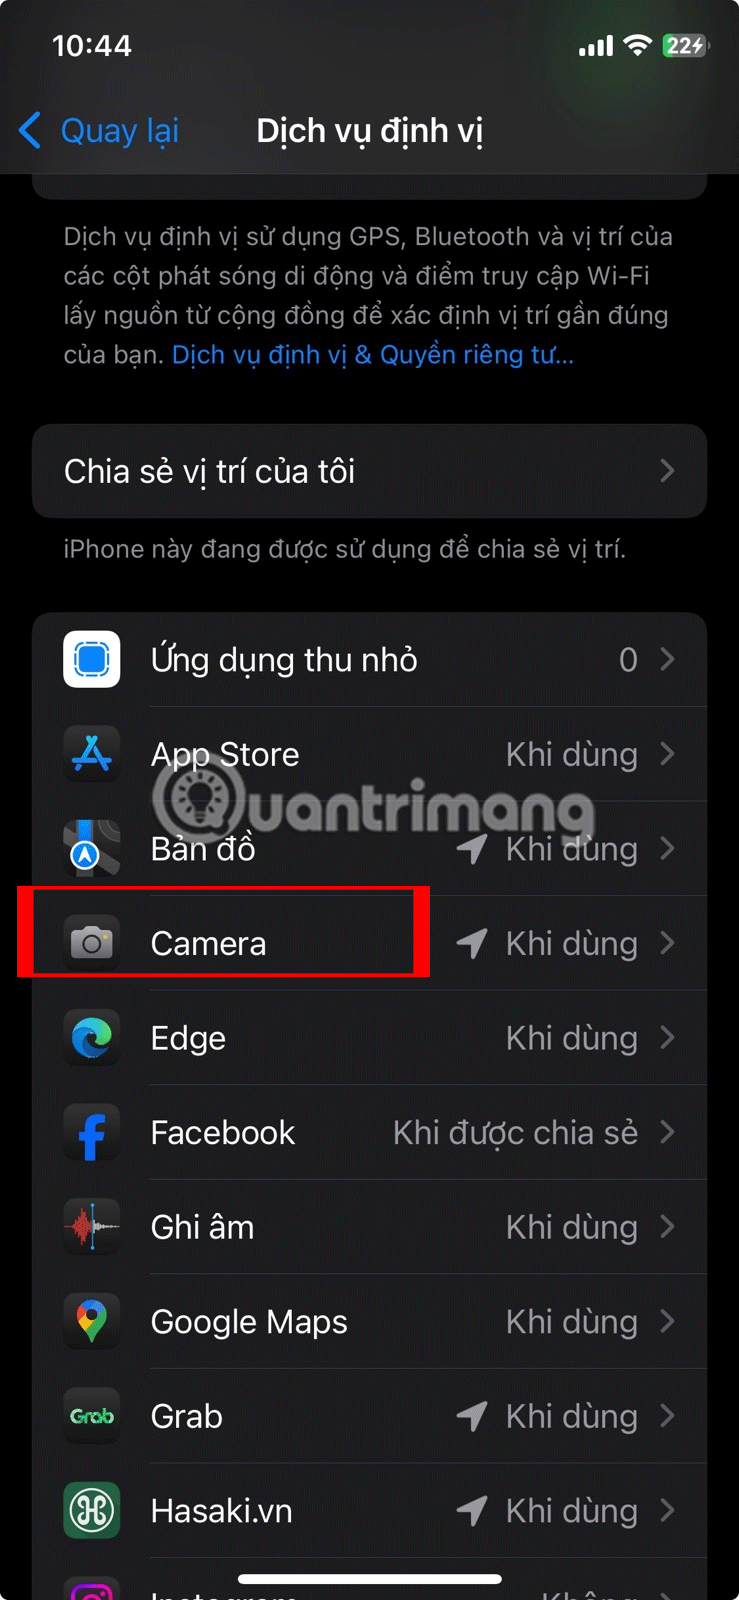
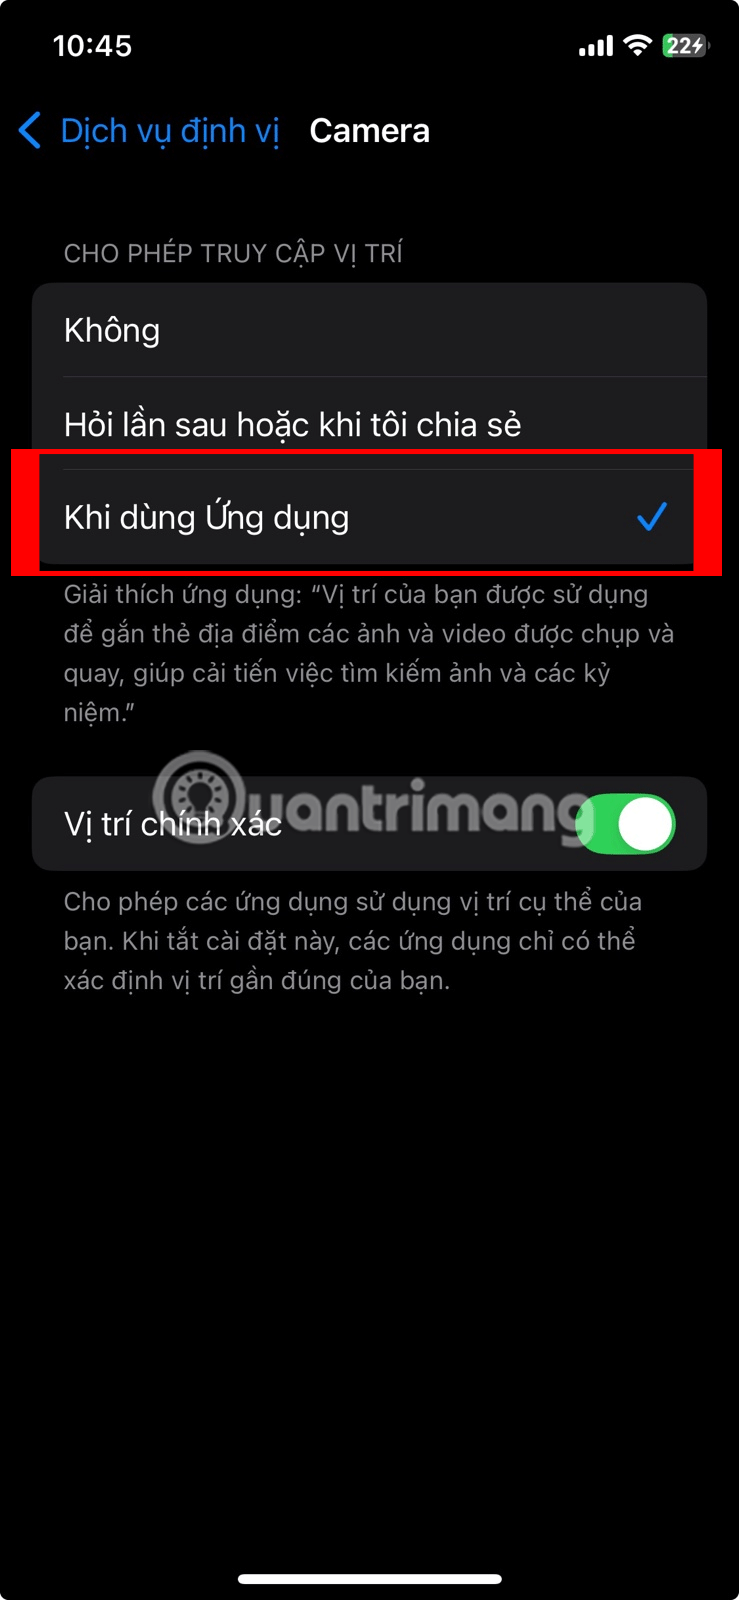
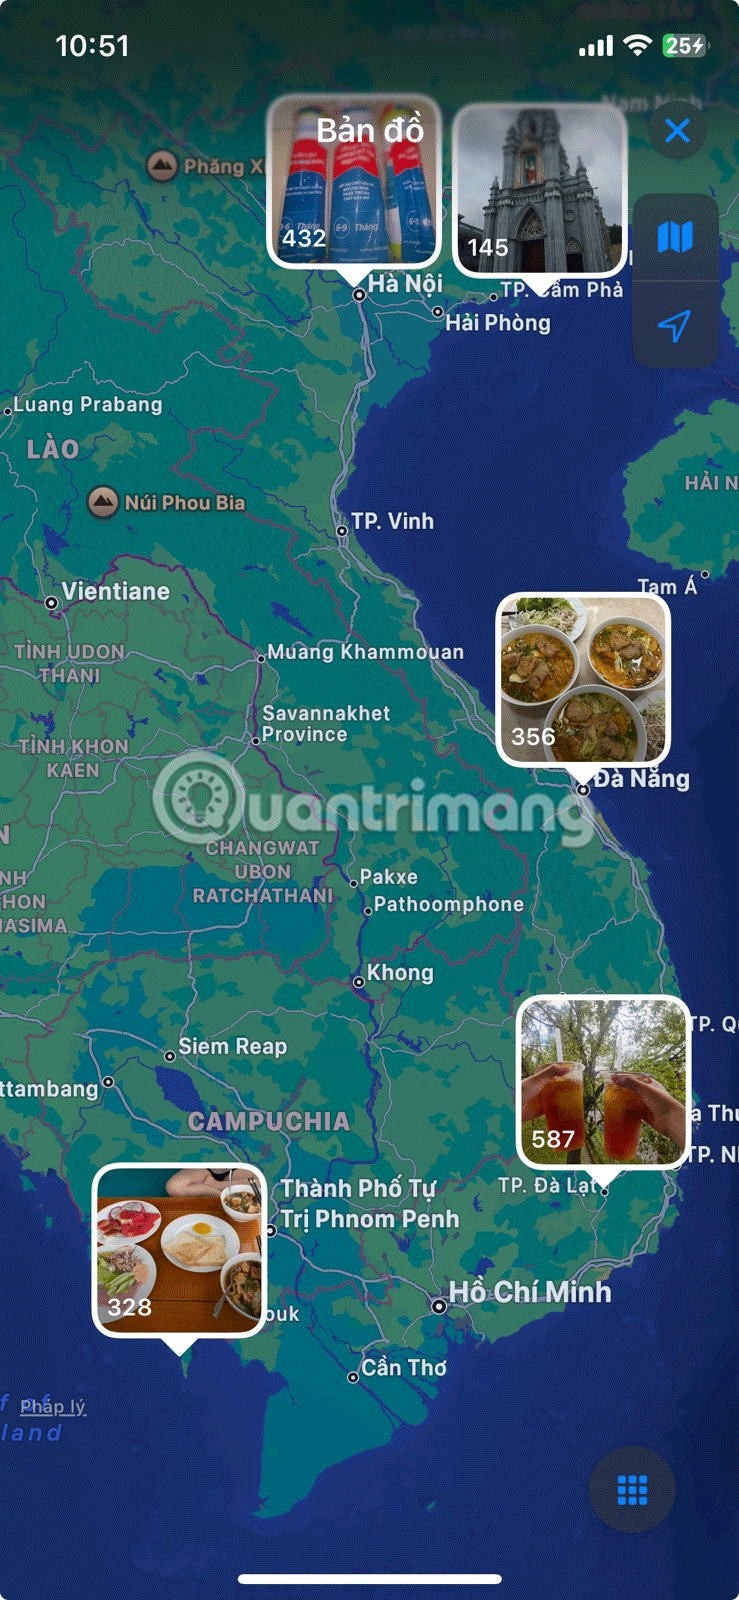
Now with this setting enabled, your iPhone will automatically geotag new photos. It will then organize those photos based on that location into a pre-made album.
To view your photos:
Sometimes you just want to see screenshots in an album, or just the images you've edited. Instead of manually scrolling through each photo, you can use the Photos app's built-in filtering options. Just swipe through your photo library, tap Albums , and open the album you want to filter.
Next, tap the sort icon and select Filter . A context menu will appear with six options: All items, Favorites, Photos, Edited, Videos , and Screenshots . All you need to do is select the type of photos you want to view.
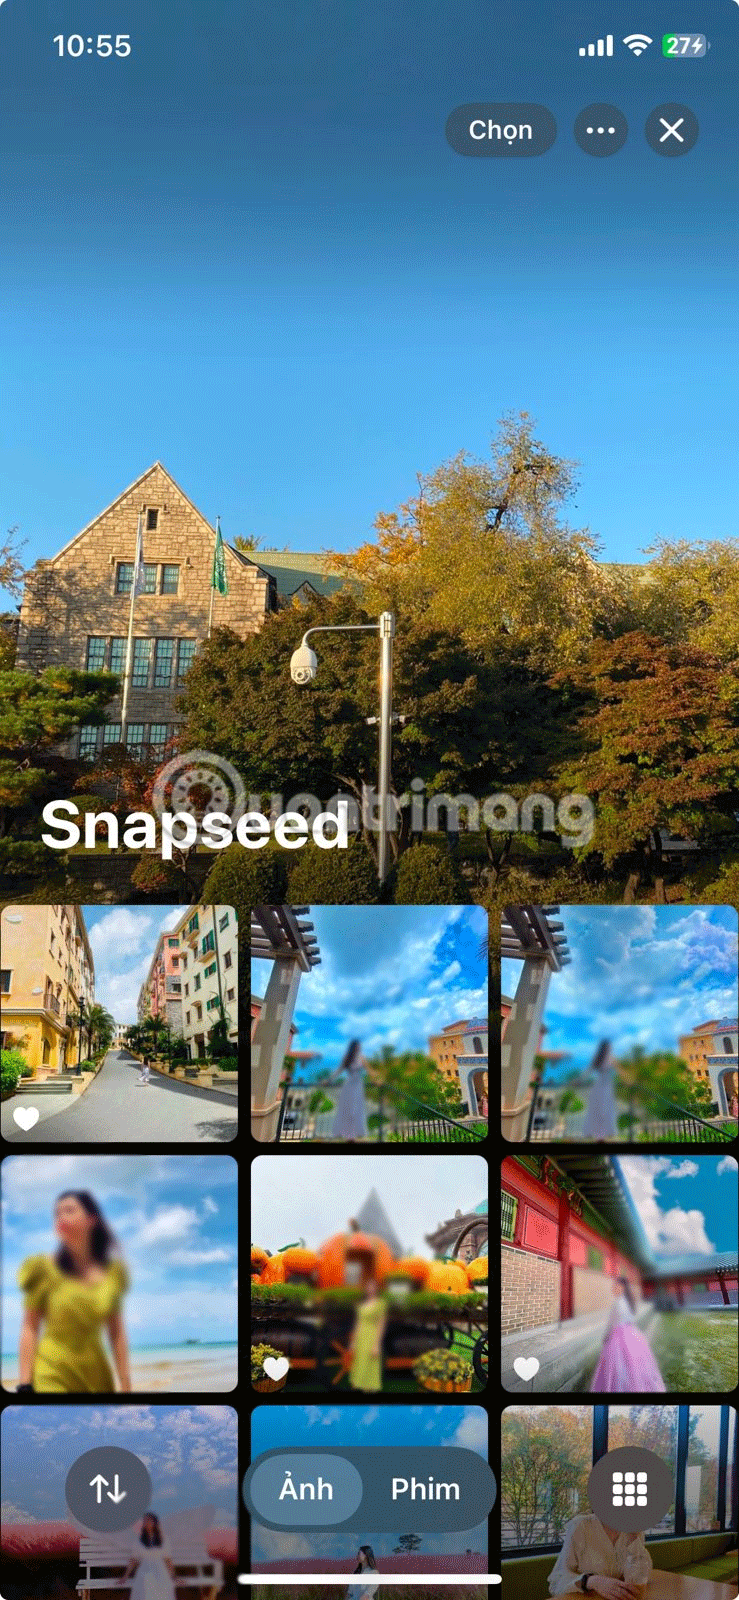
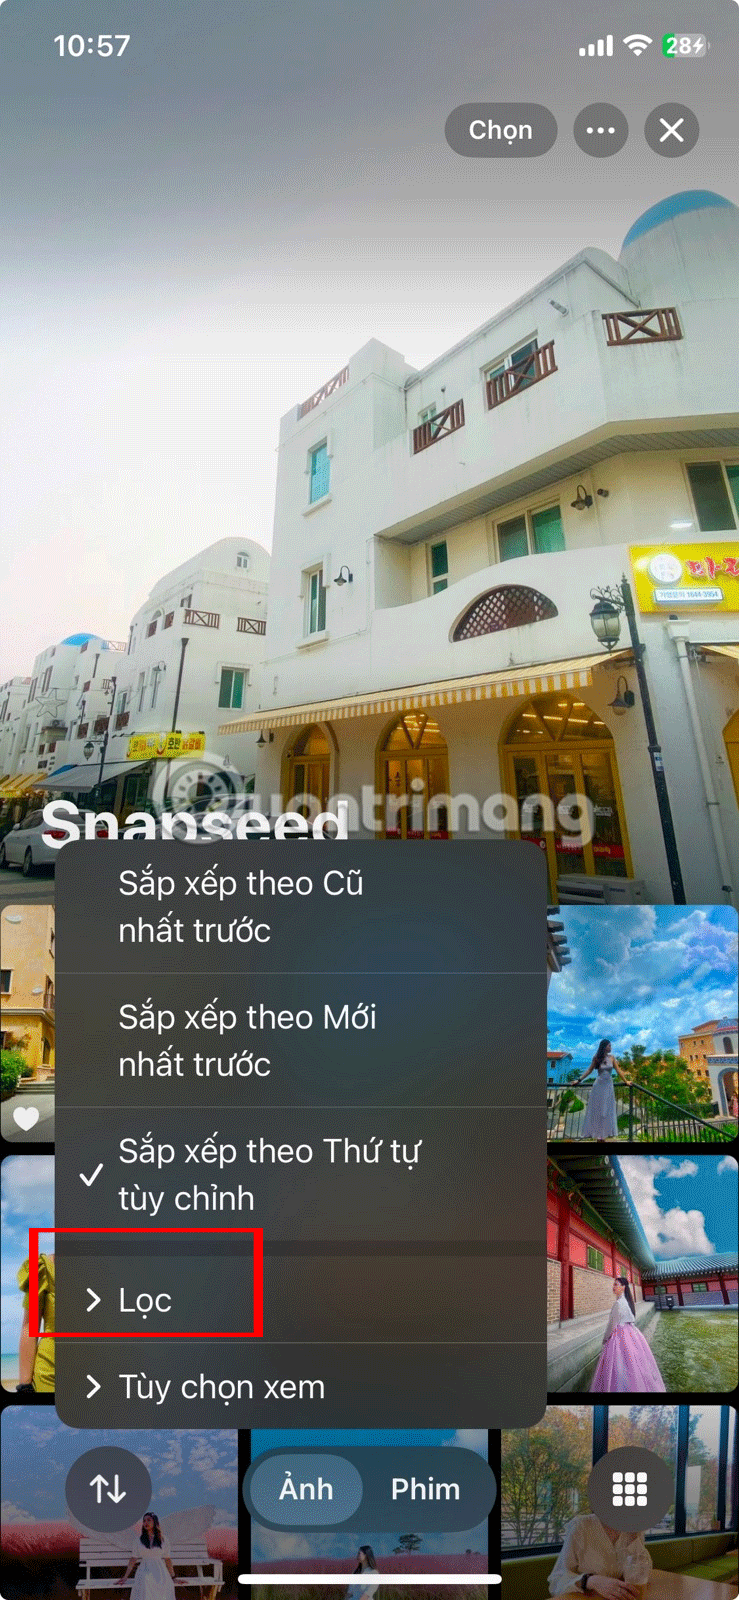
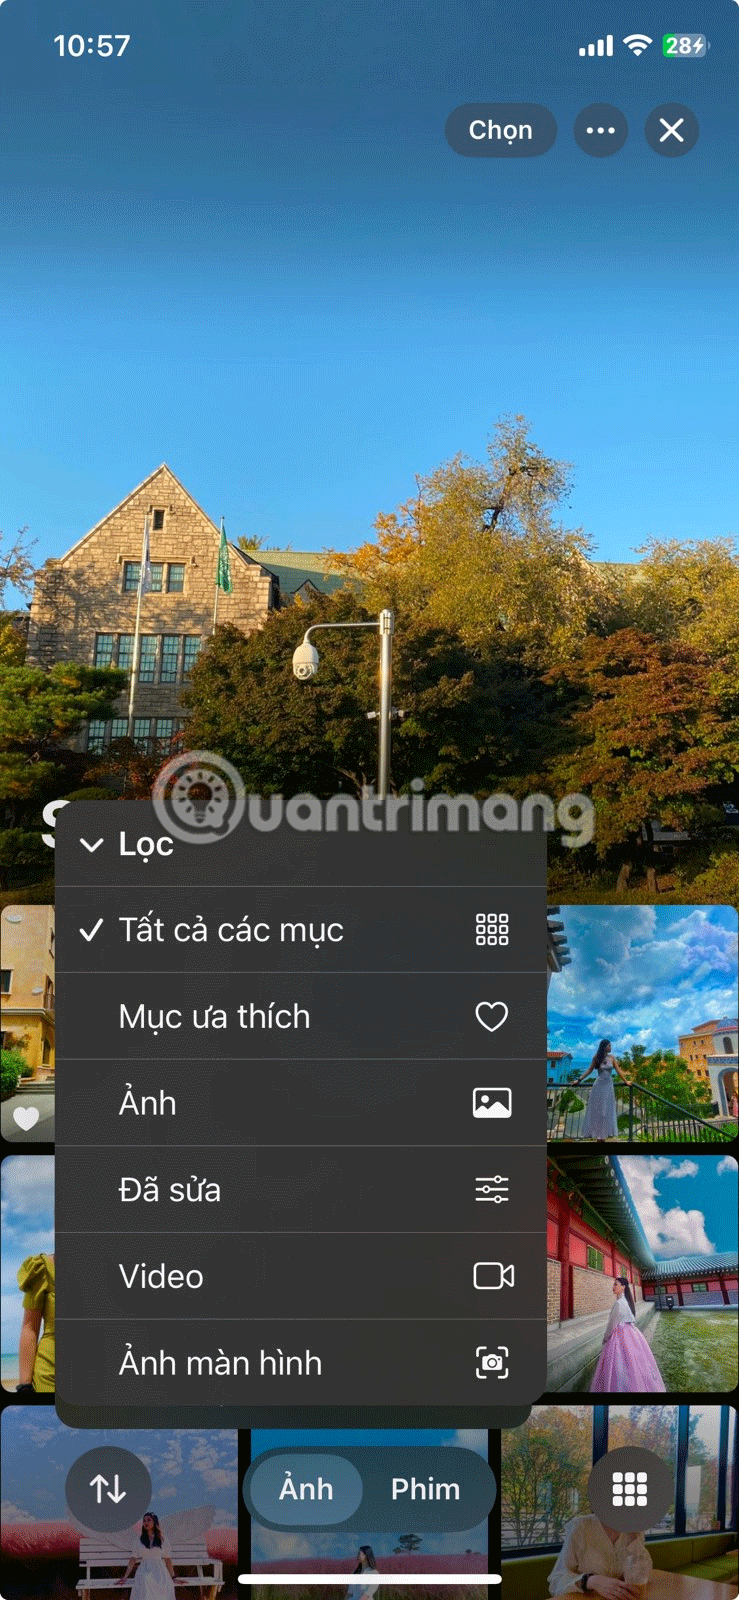
When you're done and want to remove the filter, tap the icon that replaces the sort icon, select Filters , and select All Items . This isn't limited to albums—you can also filter your entire library by following the same steps as above. Just make sure you're in your main photo grid!
By default, the Photos app sorts photos by the date they were taken. This basically means that photos are sorted based on their original timestamp, even if you receive a photo via AirDrop or save it from an app.
While this can be useful in some cases, it can make it difficult to find photos you’ve taken recently, especially if you tend to save a lot of them. Luckily, you can choose to sort your photo library by original timestamp or choose to display them at the bottom of your timeline.
To do this, scroll through your library and tap the sort icon as soon as it appears. A context menu will immediately appear with two options: Sort by Recently Added and Sort by Date Taken . Choose the former if you want your newest photos to appear at the bottom of your library. On the other hand, choose the latter if you want your library to be sorted by the date you took the respective photos instead of when you saved them to your library.
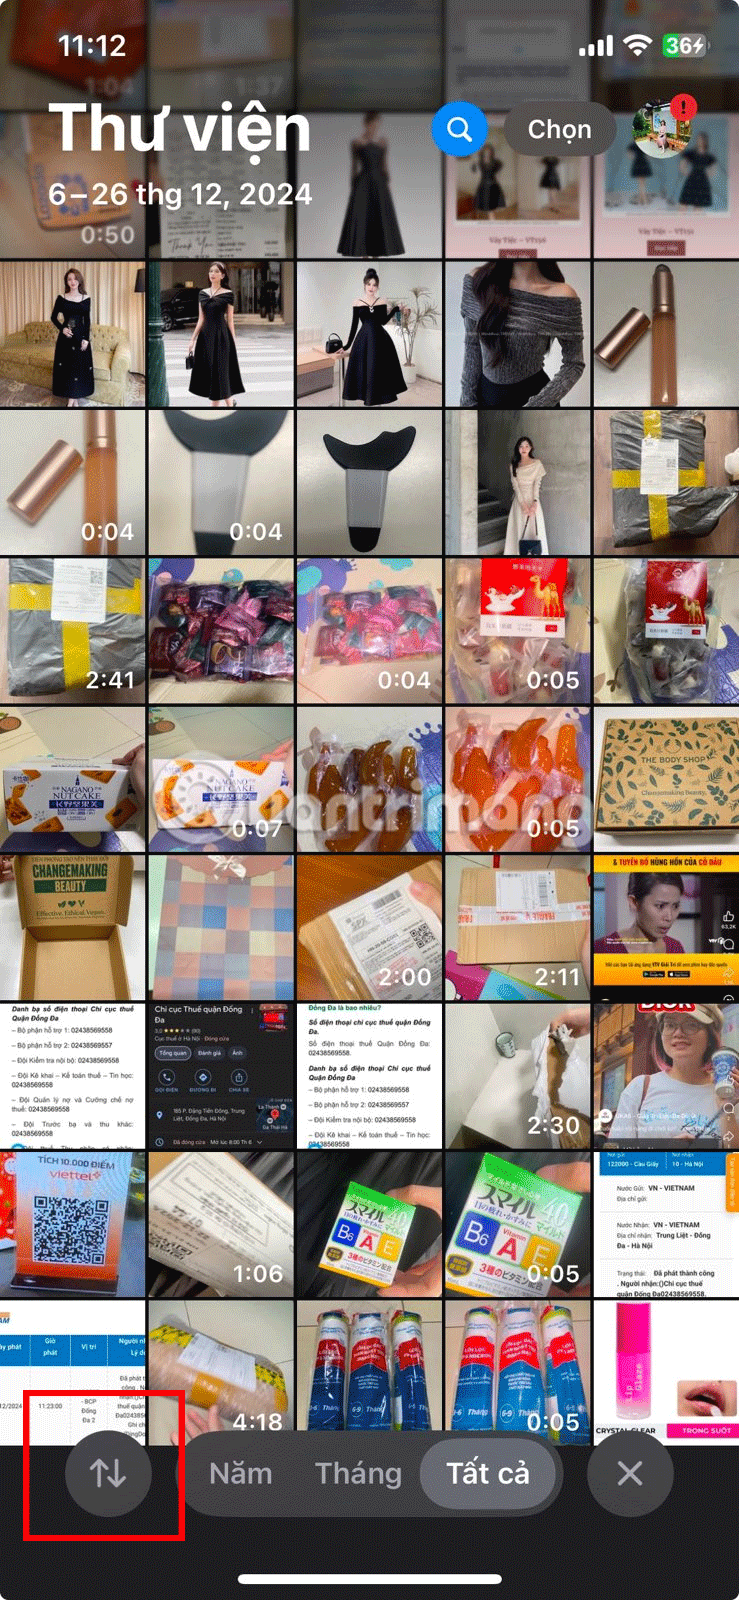
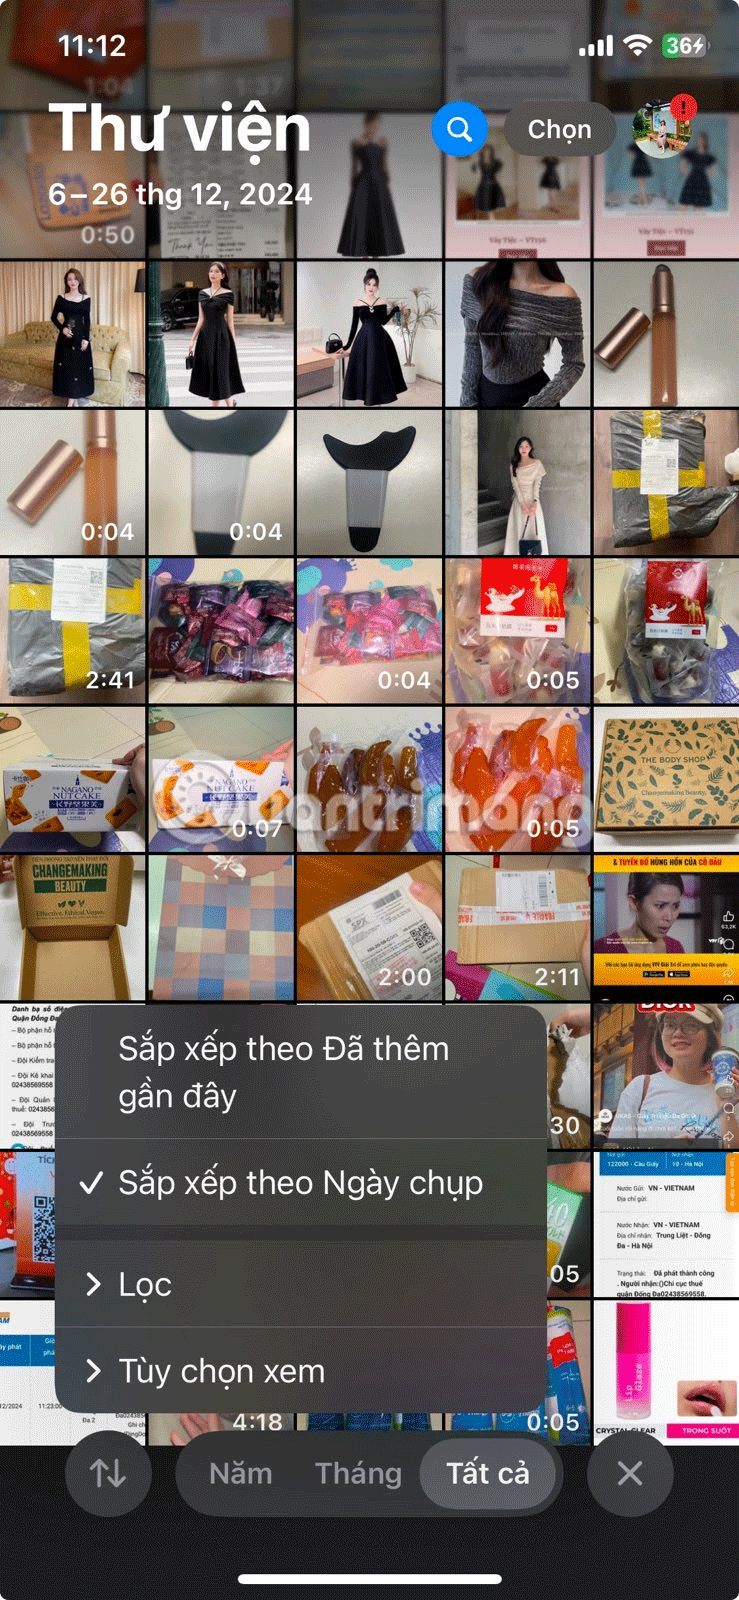
When it comes to albums, you can also sort your photos by Oldest First, Newest First , or by Custom Order . To do this, go to the album you want to sort and simply follow the same steps outlined above. Then, select your preferred sorting option.

With the quick tips and tricks mentioned above, you'll be organizing your iPhone photos with ease! Not only will this help clean up your photo library, but it will also help you find photos much faster in the Photos app.
Through your purchase history on the App Store, you will know when you downloaded that app or game, and how much you paid for the paid app.
iPhone mutes iPhone from unknown callers and on iOS 26, iPhone automatically receives incoming calls from an unknown number and asks for the reason for the call. If you want to receive unknown calls on iPhone, follow the instructions below.
Apple makes it easy to find out if a WiFi network is safe before you connect. You don't need any software or other tools to help, just use the built-in settings on your iPhone.
iPhone has a speaker volume limit setting to control the sound. However, in some situations you need to increase the volume on your iPhone to be able to hear the content.
The iPhone iMessage group chat feature helps us text and chat more easily with many people, instead of sending individual messages.
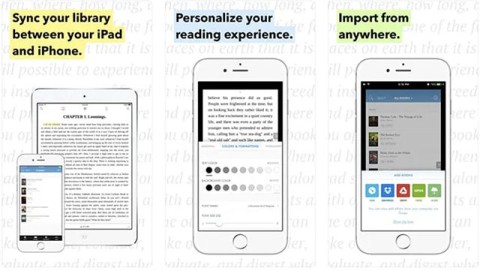
For ebook lovers, having a library of books at your fingertips is a great thing. And if you store your ebooks on your phone, you can enjoy them anytime, anywhere. Check out the best ebook reading apps for iPhone below.
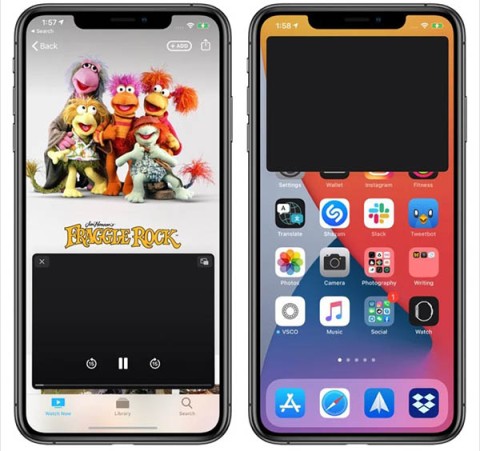
You can use Picture in Picture (PiP) to watch YouTube videos off-screen on iOS 14, but YouTube has locked this feature on the app so you cannot use PiP directly, you have to add a few more small steps that we will guide in detail below.
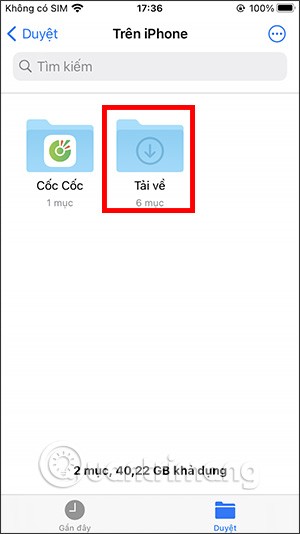
On iPhone/iPad, there is a Files application to manage all files on the device, including files that users download. The article below will guide readers on how to find downloaded files on iPhone/iPad.
Near Field Communication is a wireless technology that allows devices to exchange data when they are in close proximity to each other, typically within a few centimeters.
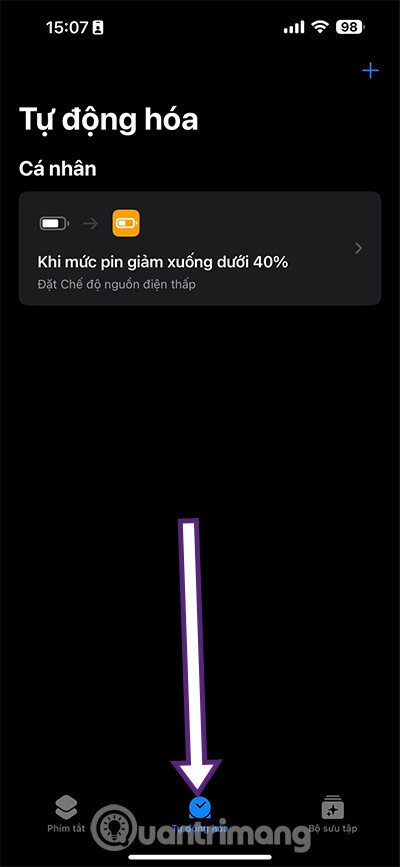
Apple introduced Adaptive Power, which works alongside Low Power Mode. Both extend iPhone battery life, but they work in very different ways.
If you frequently need to contact someone, you can set up speed calling on your iPhone, with a few simple steps.
Rotating the screen horizontally on iPhone helps you watch movies or Netflix, view PDFs, play games,... more conveniently and have a better experience.
Reverse image search on iPhone is very simple when you can use the browser on the device, or use some 3rd party applications for more search options.
Today's technological developments can allow you to directly extract text from images captured with a smartphone camera.
As soon as you update your iPhone to the official iOS 16 version, you will be able to set an iPhone wallpaper without covering your face when adjusting the wallpaper according to the depth effect.
Through your purchase history on the App Store, you will know when you downloaded that app or game, and how much you paid for the paid app.
iPhone mutes iPhone from unknown callers and on iOS 26, iPhone automatically receives incoming calls from an unknown number and asks for the reason for the call. If you want to receive unknown calls on iPhone, follow the instructions below.
Apple makes it easy to find out if a WiFi network is safe before you connect. You don't need any software or other tools to help, just use the built-in settings on your iPhone.
iPhone has a speaker volume limit setting to control the sound. However, in some situations you need to increase the volume on your iPhone to be able to hear the content.
ADB is a powerful set of tools that give you more control over your Android device. Although ADB is intended for Android developers, you don't need any programming knowledge to uninstall Android apps with it.
You might think you know how to get the most out of your phone time, but chances are you don't know how big a difference this common setting makes.
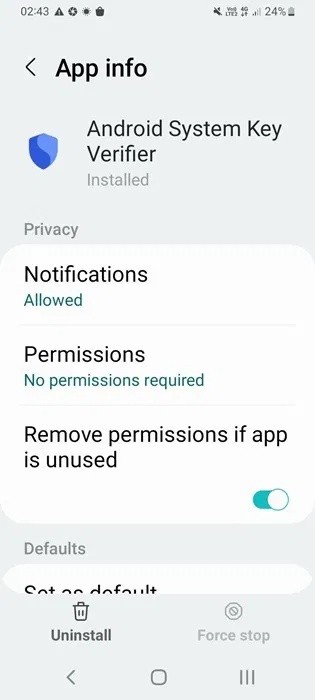
The Android System Key Verifier app comes pre-installed as a system app on Android devices running version 8.0 or later.
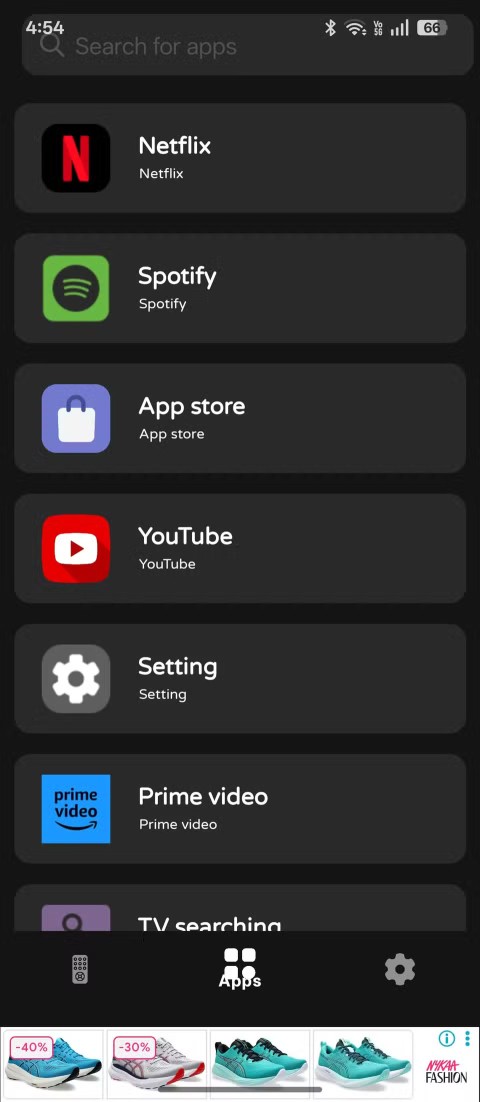
Despite Apple's tight ecosystem, some people have turned their Android phones into reliable remote controls for their Apple TV.
There are many reasons why your Android phone cannot connect to mobile data, such as incorrect configuration errors causing the problem. Here is a guide to fix mobile data connection errors on Android.
For years, Android gamers have dreamed of running PS3 titles on their phones – now it's a reality. aPS3e, the first PS3 emulator for Android, is now available on the Google Play Store.
The iPhone iMessage group chat feature helps us text and chat more easily with many people, instead of sending individual messages.
For ebook lovers, having a library of books at your fingertips is a great thing. And if you store your ebooks on your phone, you can enjoy them anytime, anywhere. Check out the best ebook reading apps for iPhone below.
You can use Picture in Picture (PiP) to watch YouTube videos off-screen on iOS 14, but YouTube has locked this feature on the app so you cannot use PiP directly, you have to add a few more small steps that we will guide in detail below.
On iPhone/iPad, there is a Files application to manage all files on the device, including files that users download. The article below will guide readers on how to find downloaded files on iPhone/iPad.
If you really want to protect your phone, it's time you started locking your phone to prevent theft as well as protect it from hacks and scams.
